
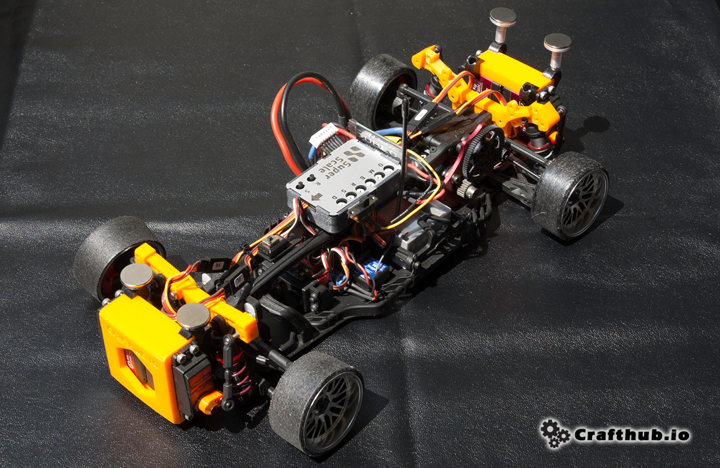
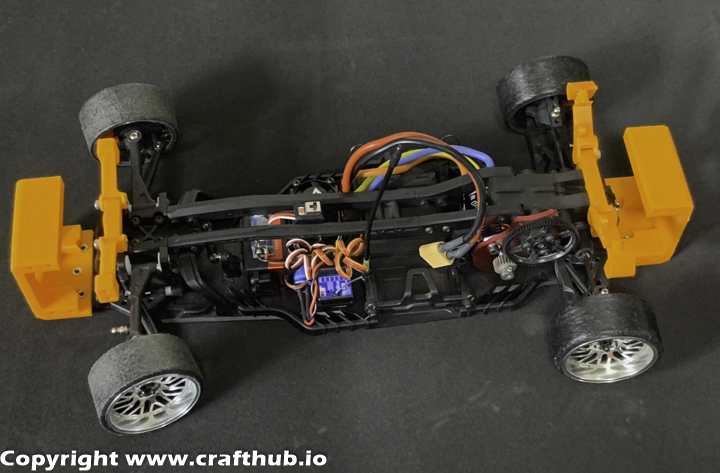
This kit is an STL Data kit for conversion of MSTRMX2.0 chassis with an active suspension system ”SuperScale2k20 SS Unit”.
Future
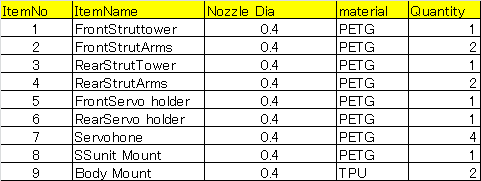
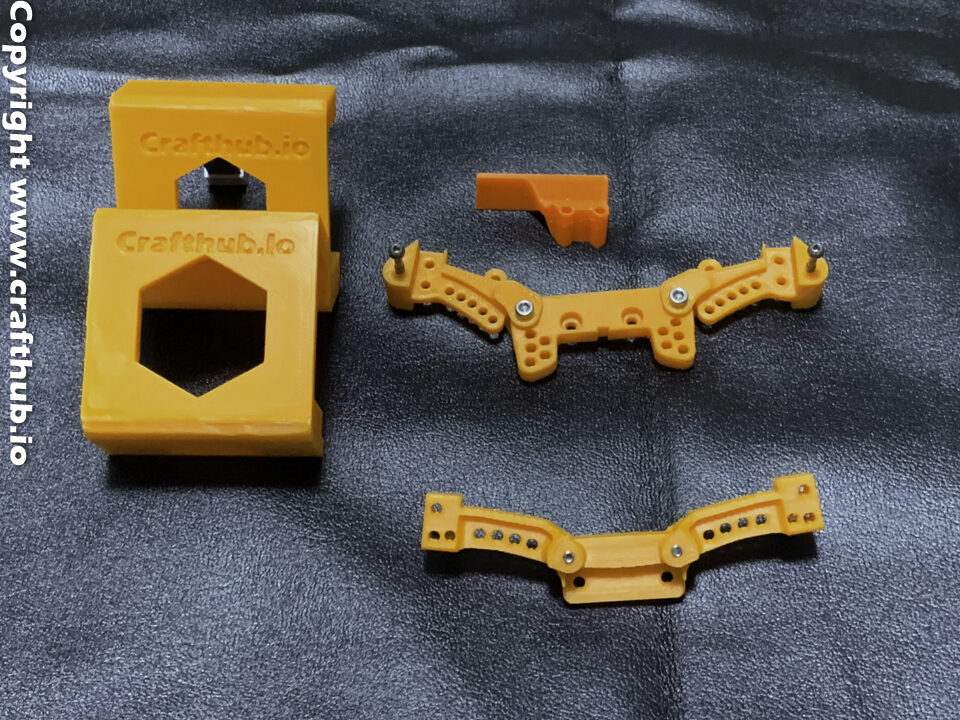
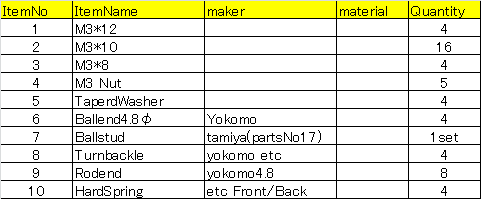
• Come with All of the printable parts, without SS unit.
• Design for MST RMX2.0
• Active suspension and conventional suspension hybrid.
• Simple and reliable, easy to swap design
• Fully compatible original suspension geometry
What is contained in this kit?
What you need
(items not included in kit)
- Superscale2K20 SS unit kit
- BEC unit
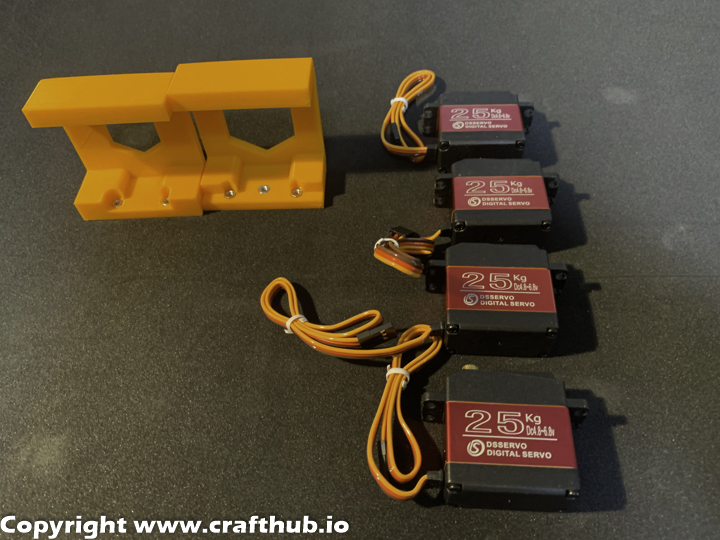
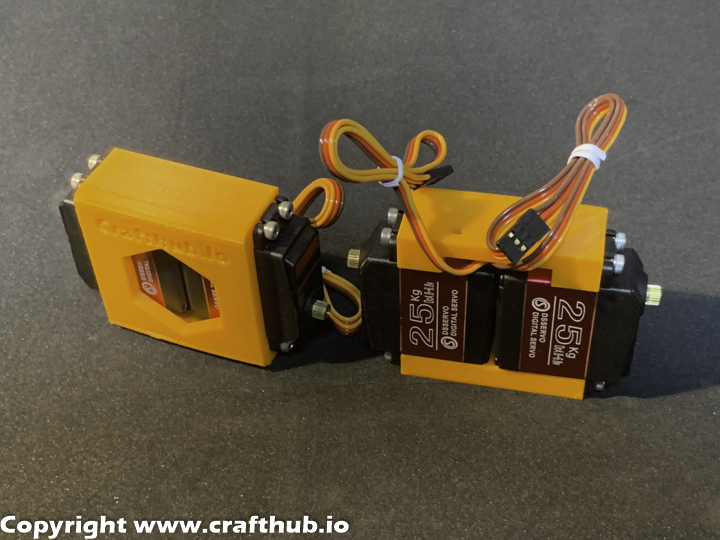
- High torque Servo *4
1, Installation
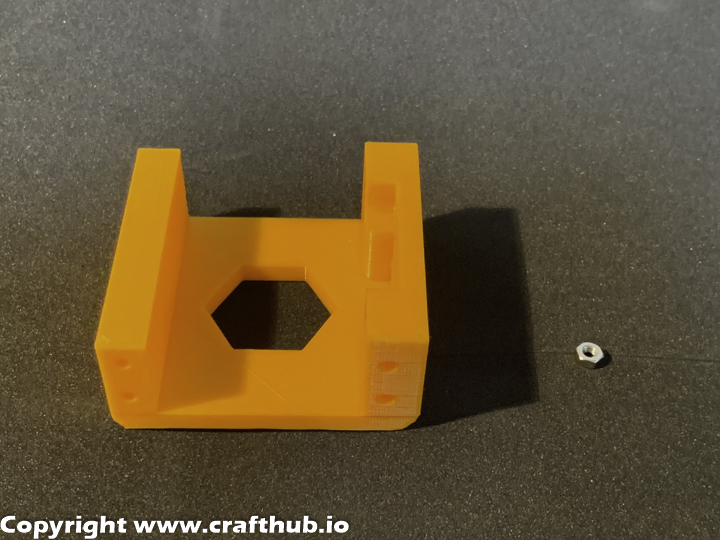
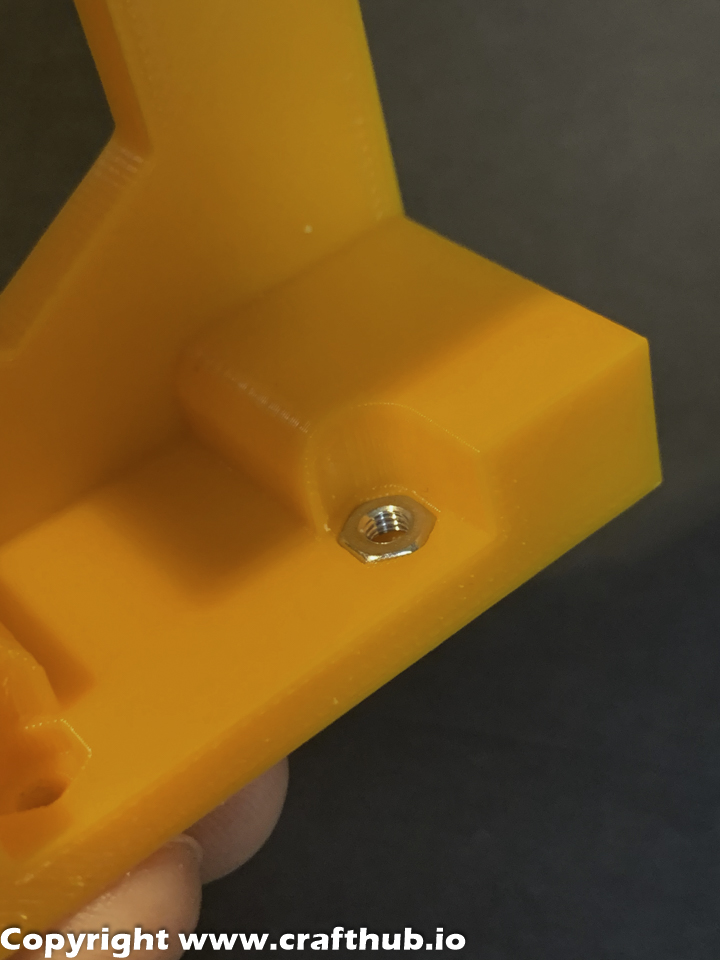
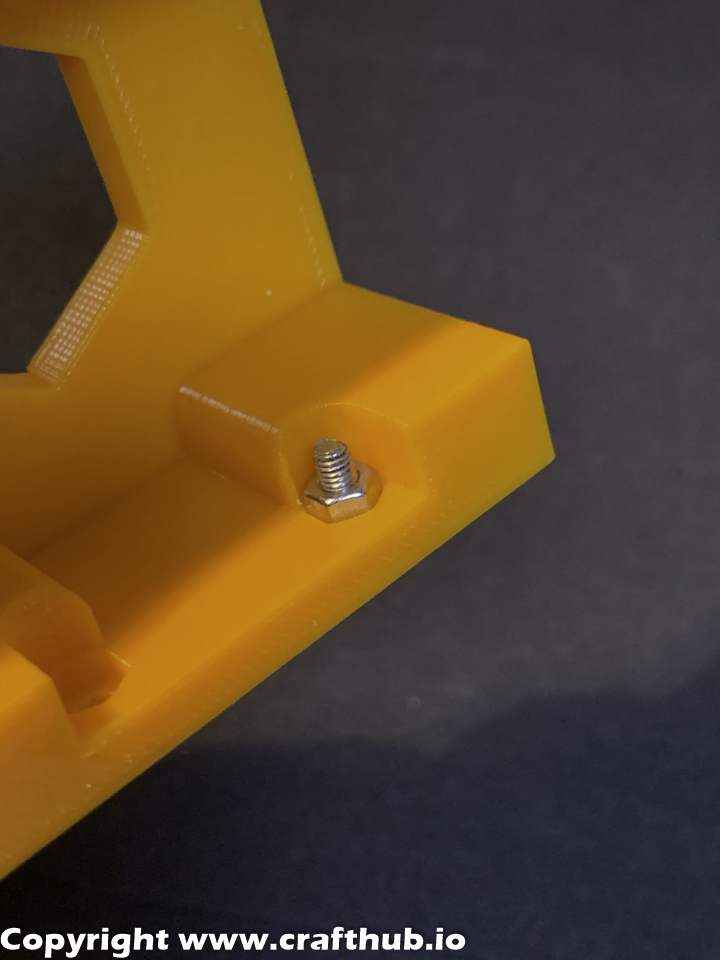
Use the M3 screw, M3 Nut, and gently insert to the M3 Nut position.
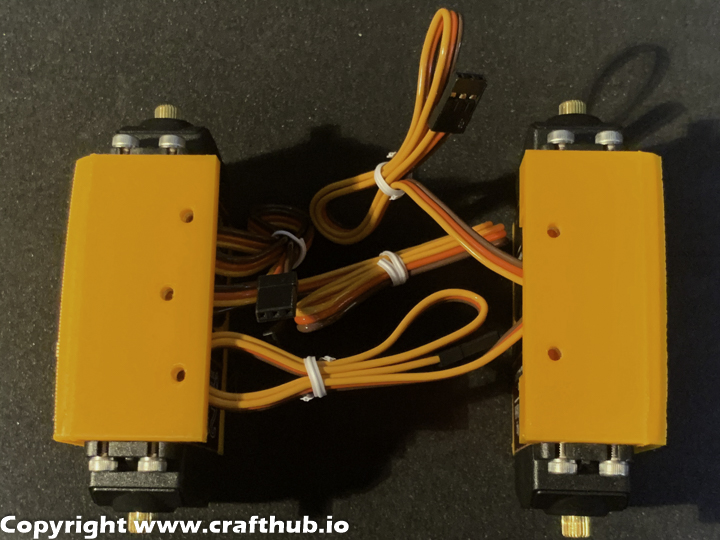
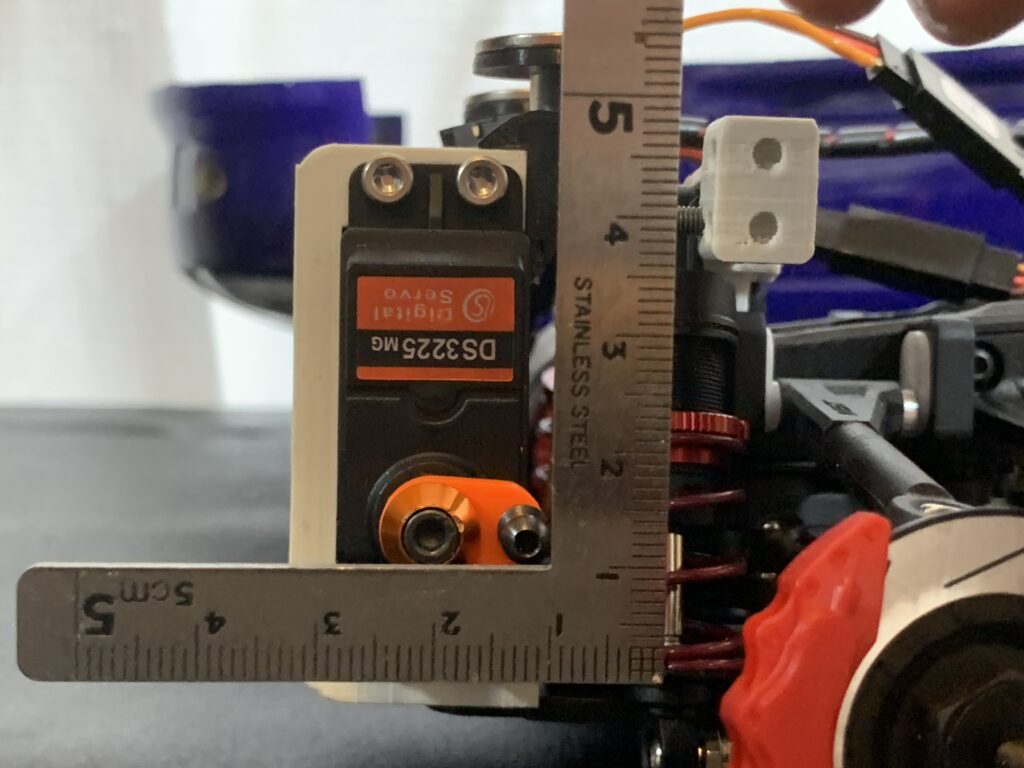
2, High Torque Servo installs
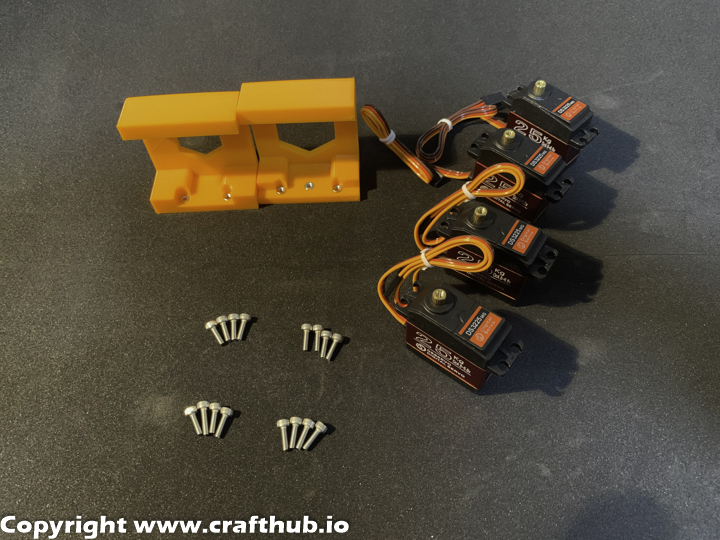
Use M3*10 CapScrew to screw servos to chassis mount brackets.
The mount screw hole size is 2.8mm and optimizes the tolerance for M3 screws. The Servo’s output shaft should be on the side closest to chassis mount holes.
3, Remove the bumper
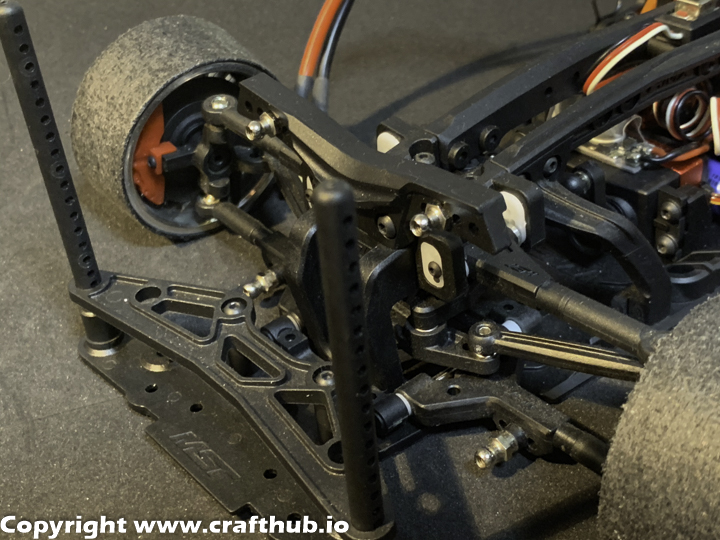
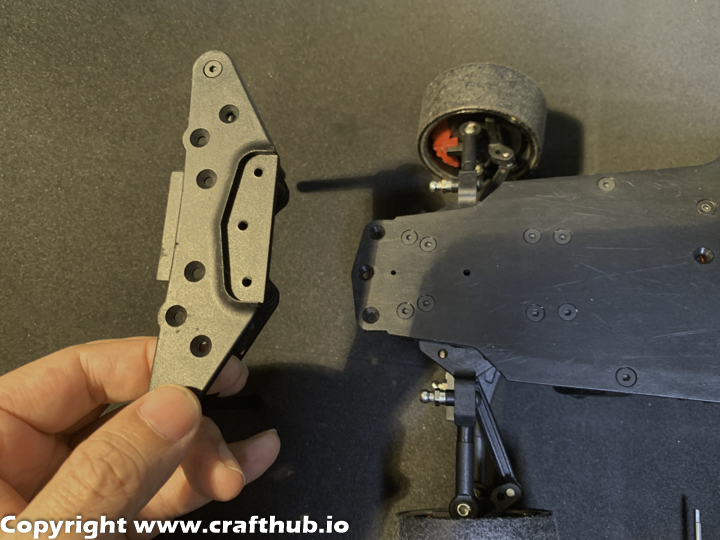
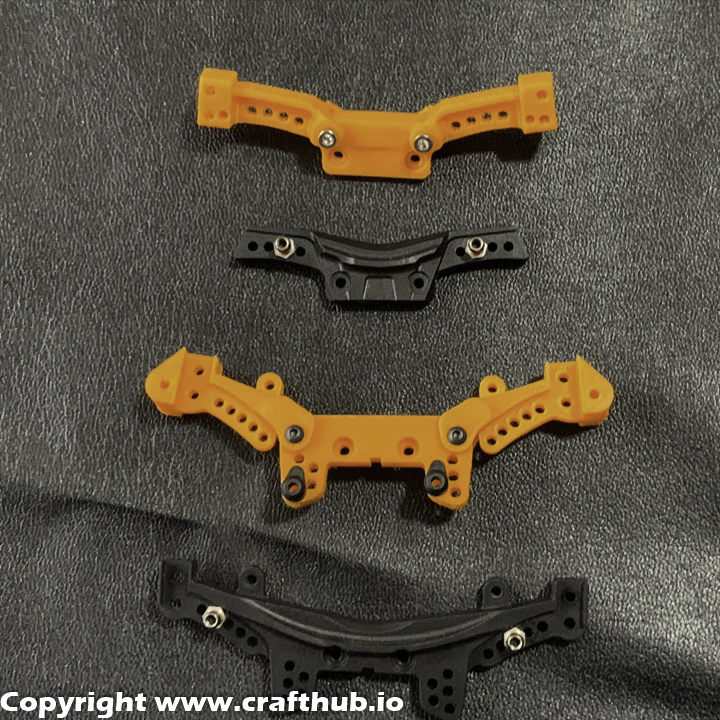
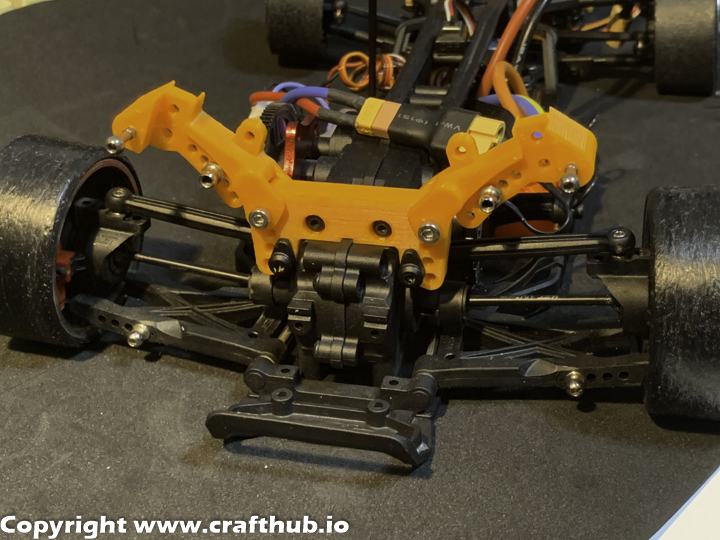
4, Swap the Strut tower bar(Front)
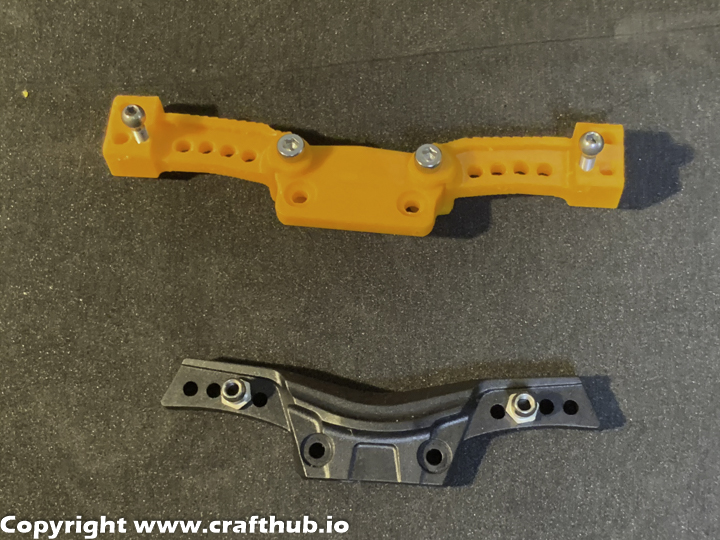
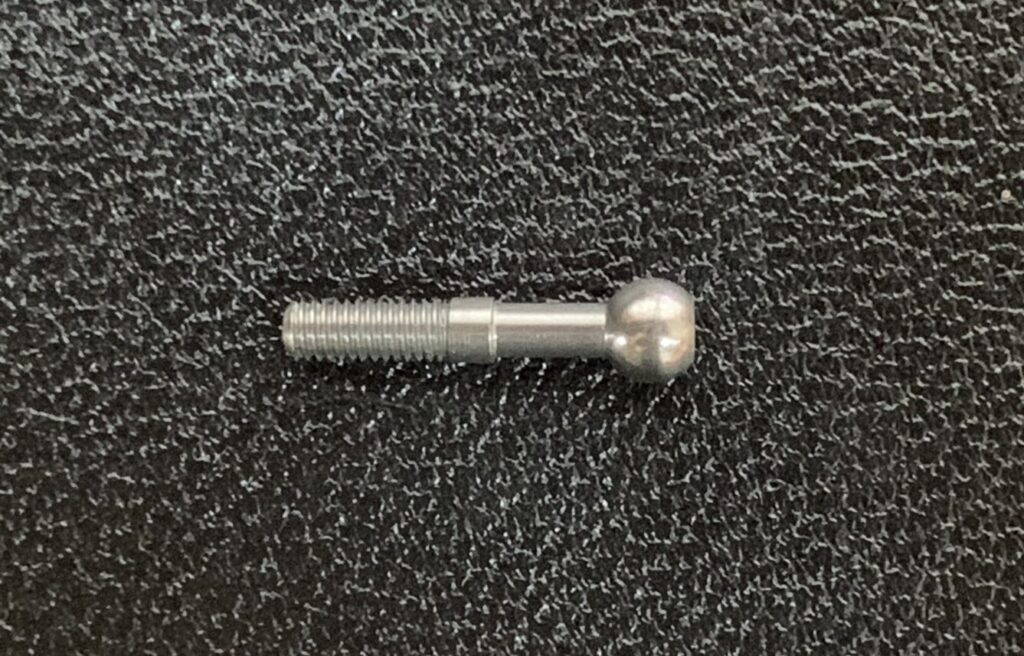
Remove the original Strut Tower. Remove the ball end and fix it in the same position
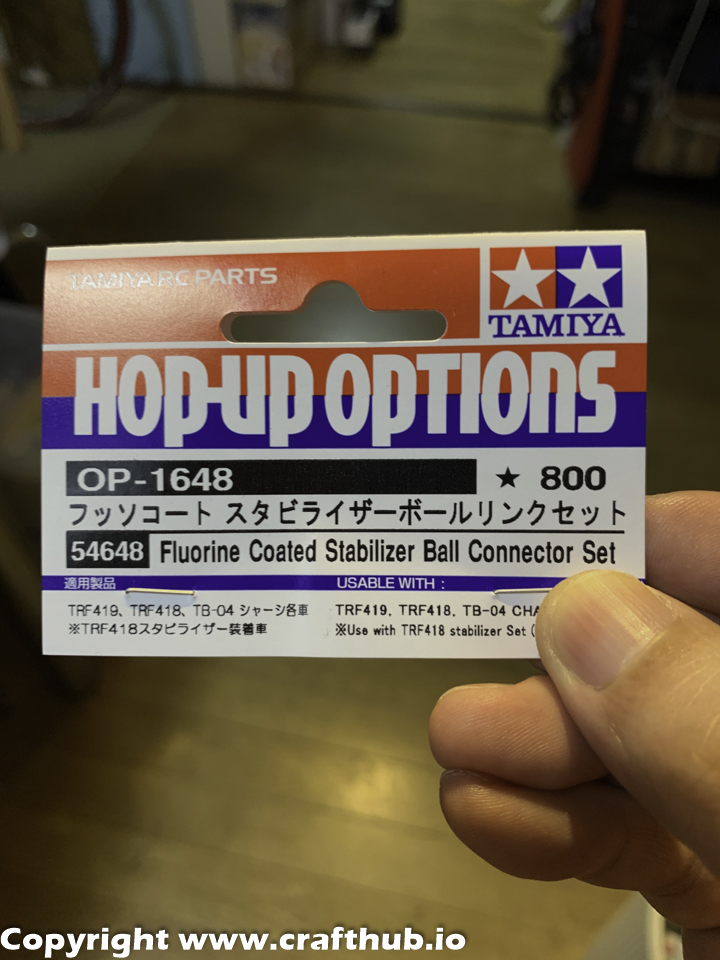
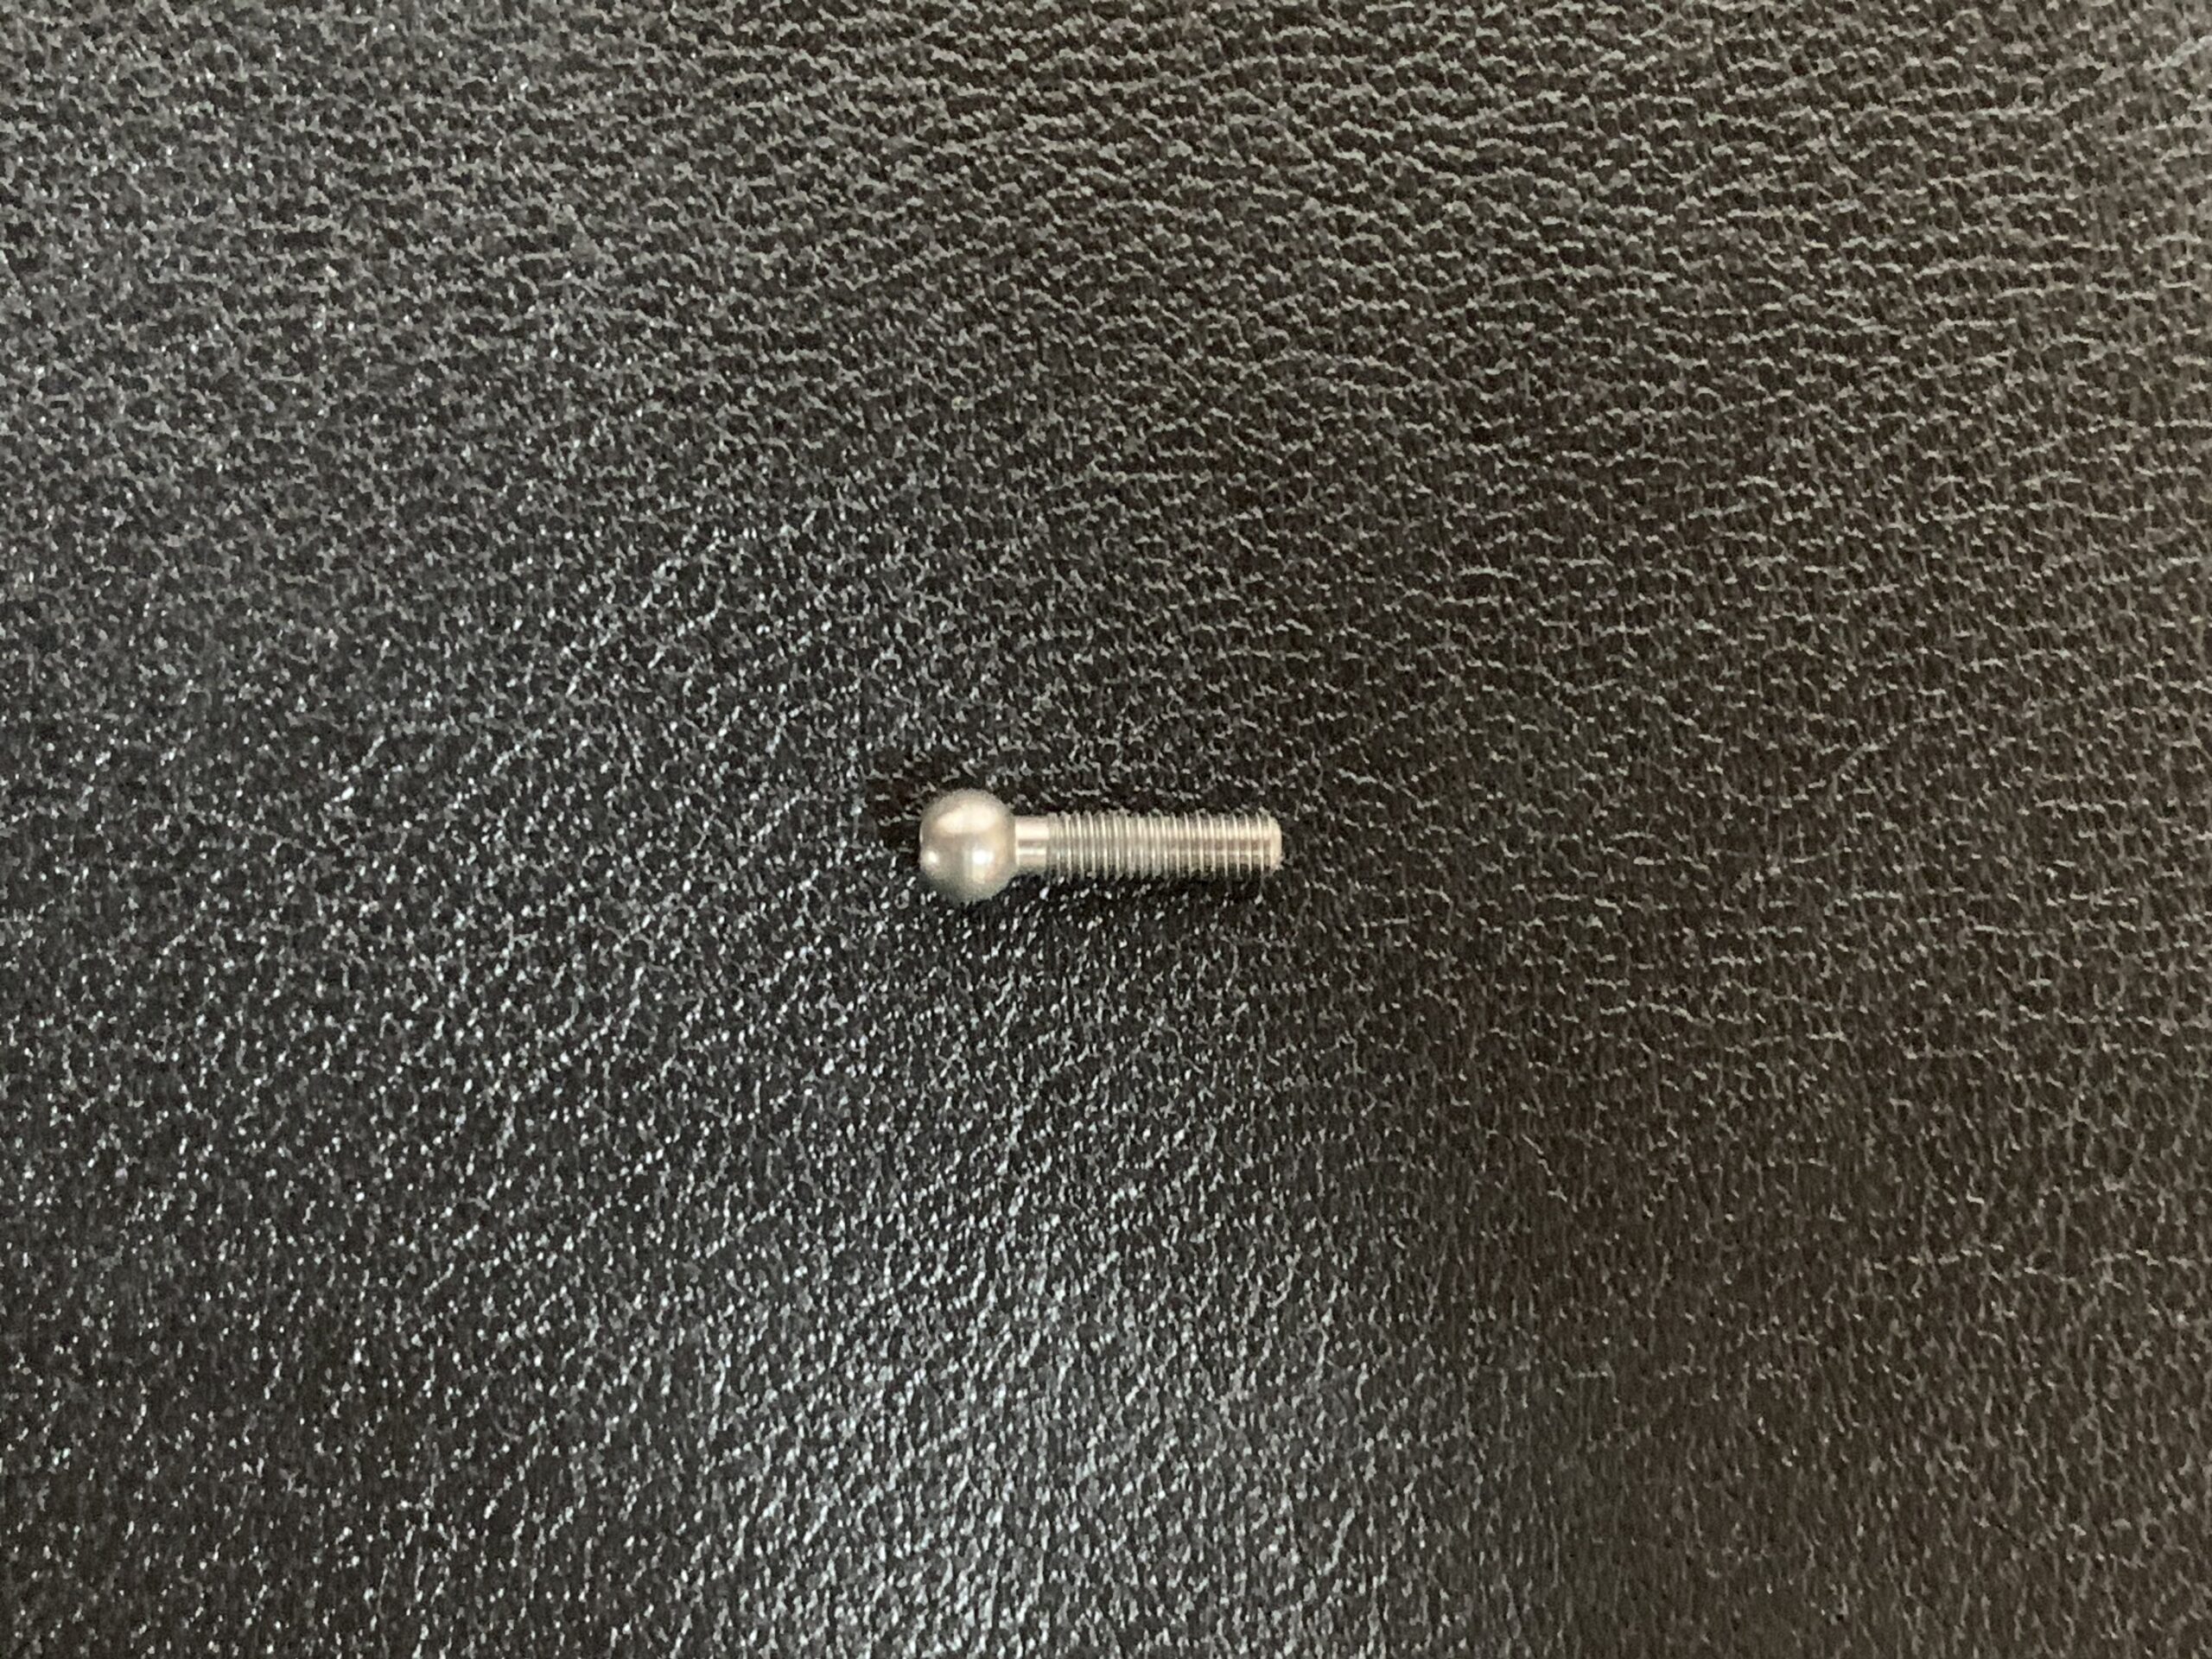
Use a Tamiya Fluorine coated Stabilizer Ball connector set For the front, use this one. (partsNo17)
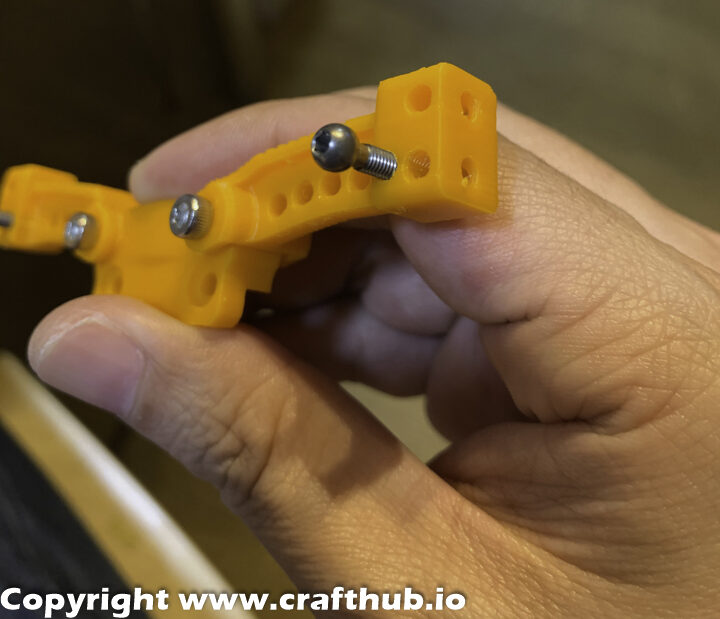
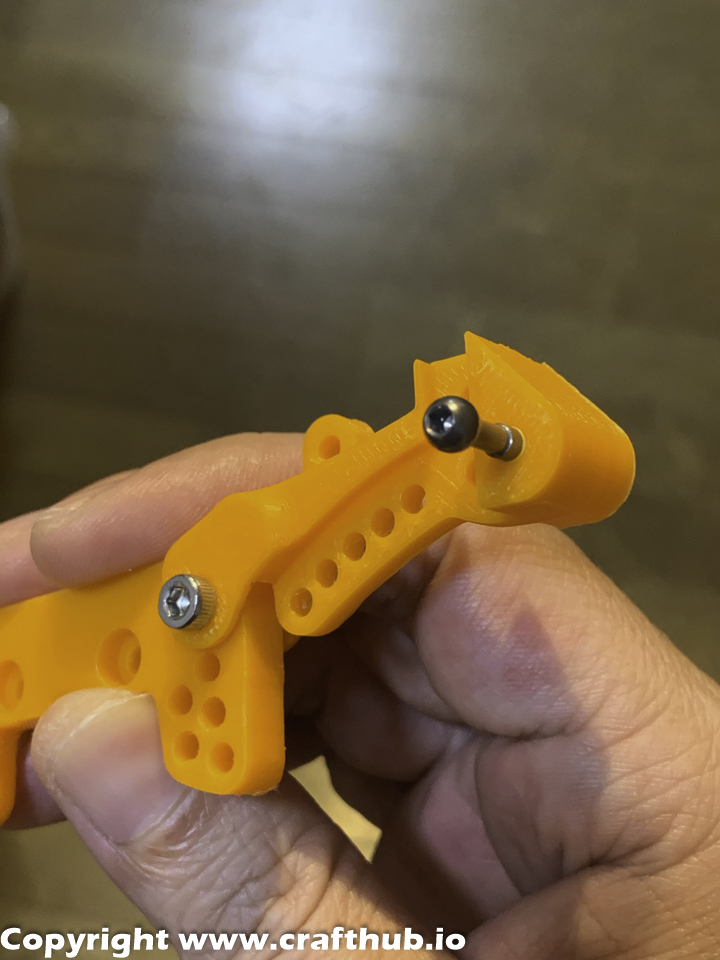
Assemble the front Strut tower by adding M3*15 screws for the front. Do not over-tighten. Check for minimum play and movement.
The assembled strut tower needs a little bit of friction. If this part is too loose, the SS’s multiplier value can’t increase, and serious oscillation will occur and won’t stop. However, regular suspension linkage parts have to always be very smooth.

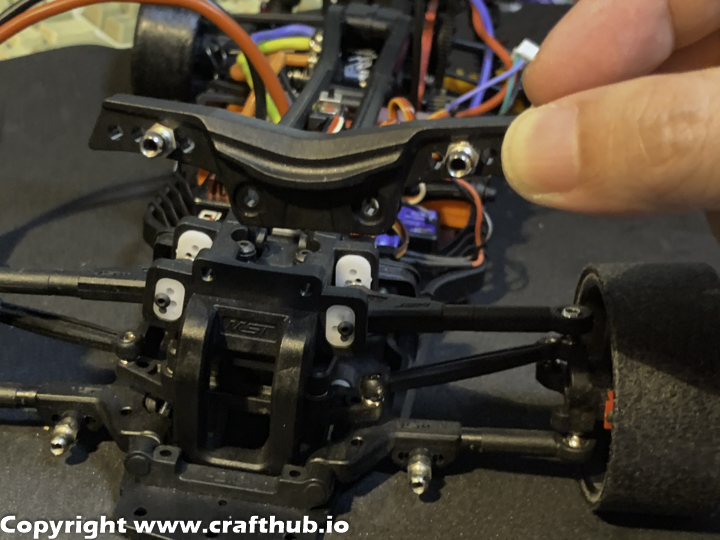
5, Swap the Strut tower bar (Rear)
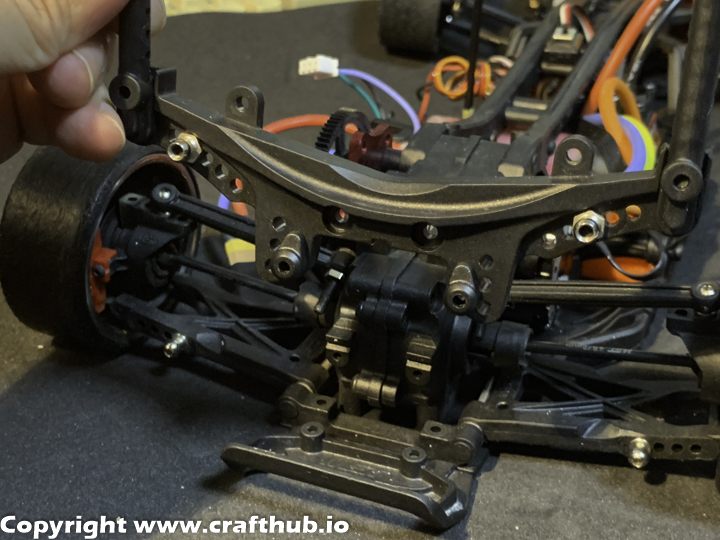
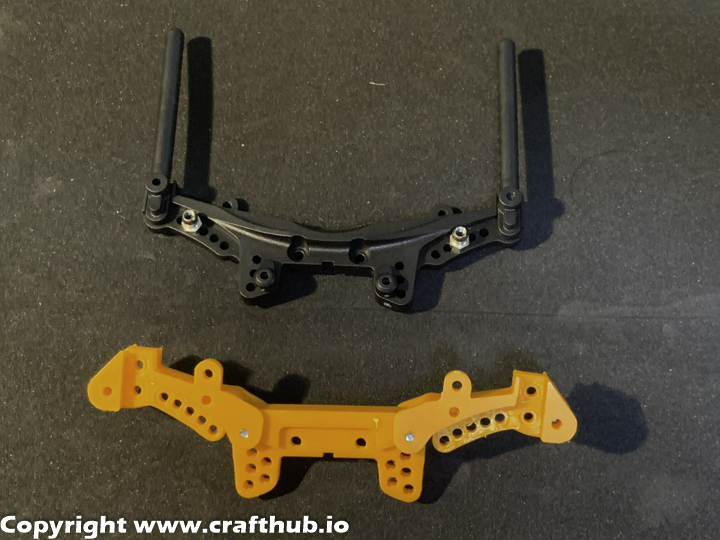
Assembling the Rear Strut tower: (Assembled)
Using M3*12 screw for the Rear. (Do not over-tighten) Check minimum play (The arms should move easily.)
The assembled strut tower needs a little bit of friction. If this part is too loose, the SS’s multiplier value can’t increase, and serious oscillation will occur and won’t stop. However, regular suspension linkage parts have to always be very smooth. Use a Tamiya Fluorine coated Stabilizer Ball connector set For the Rear, use this one. (partsNo17)
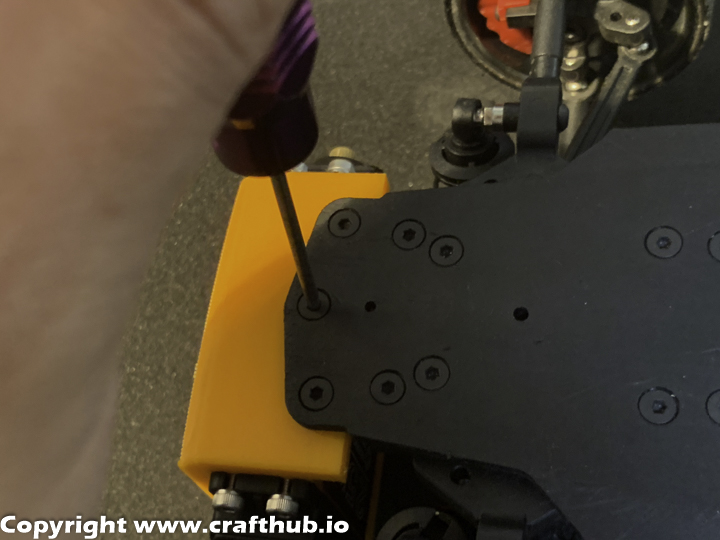
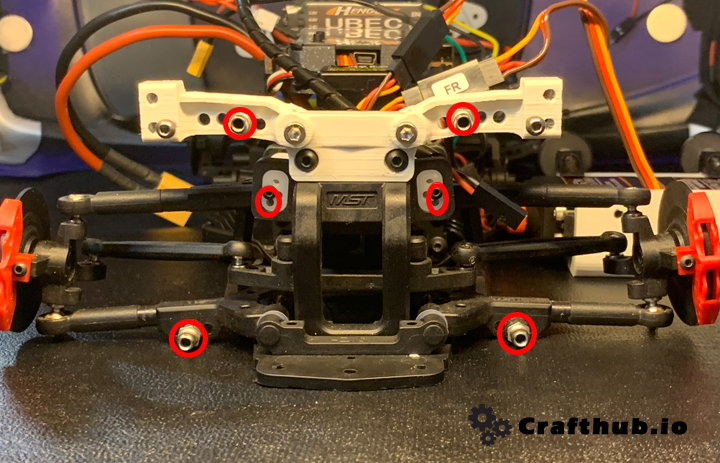
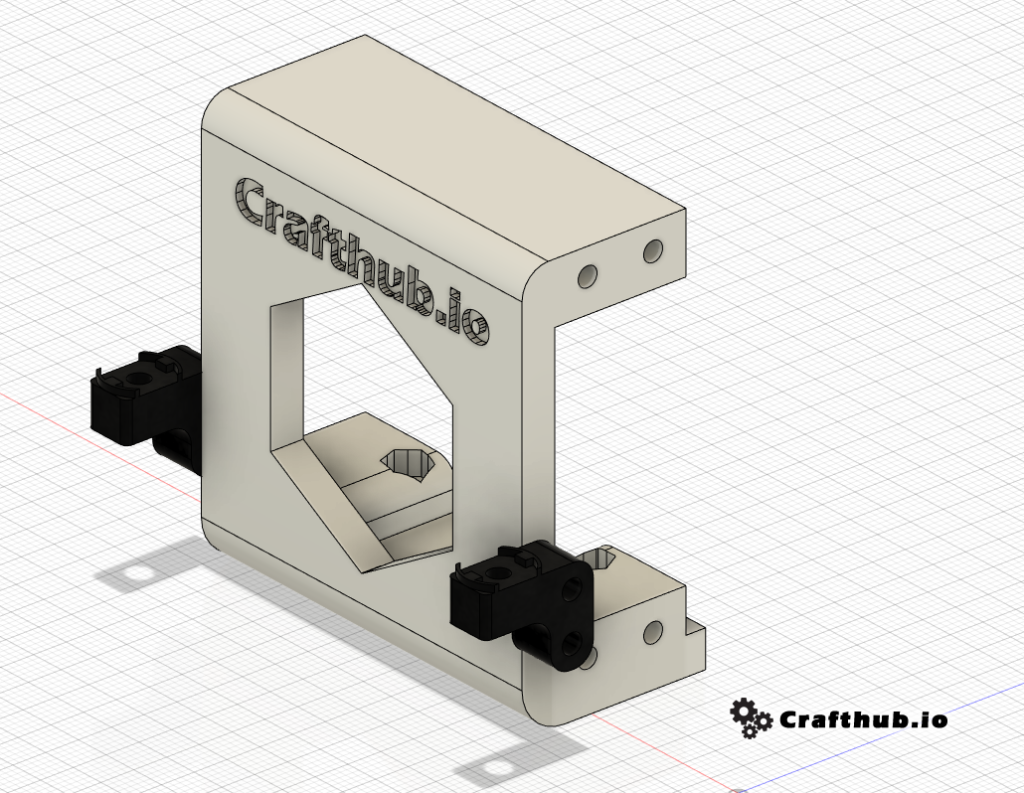
6, Mounting the servo holder
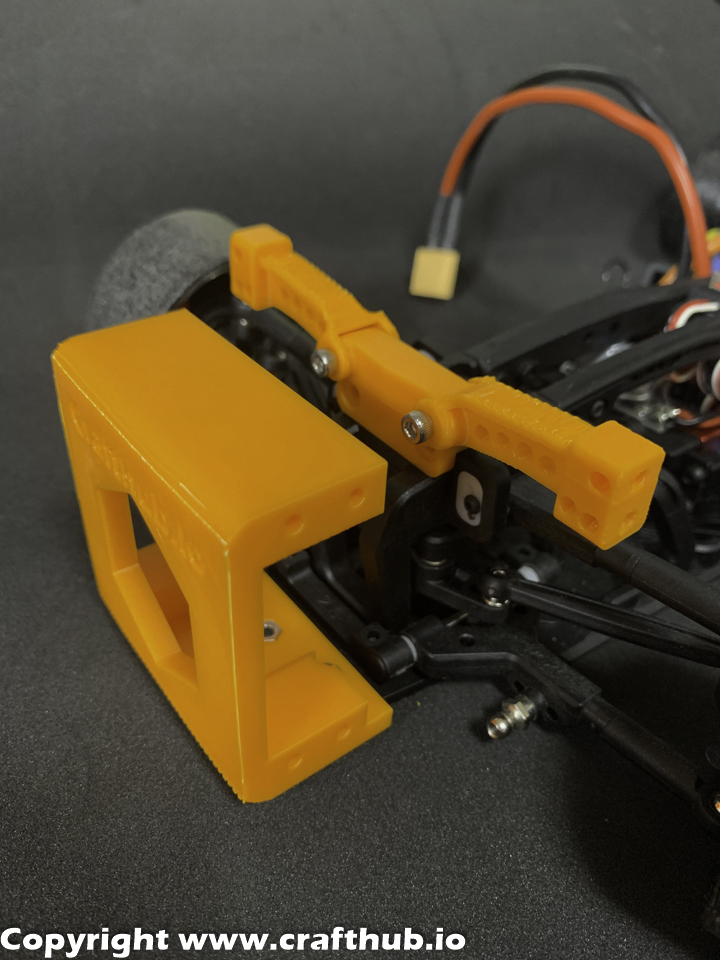
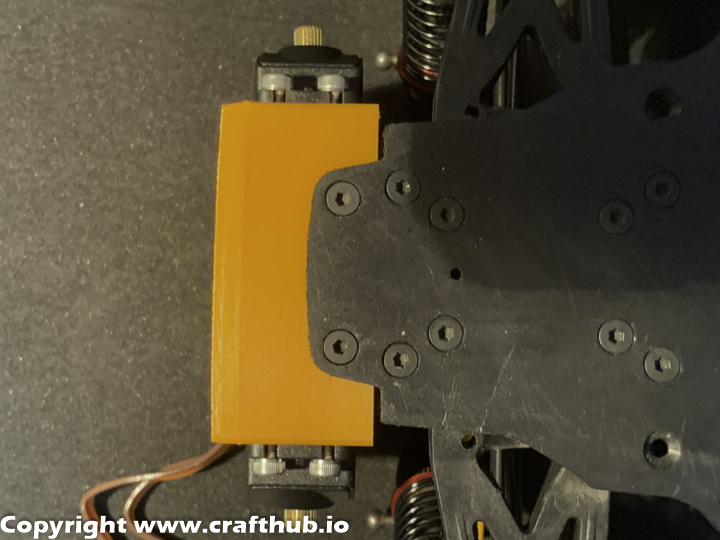

Front
Side screw use 3*15 Countersunk screw. For the center screw. Use the screw that MST originally used.
The *Front servo holder has 3 screws. The rear servo holder has 2 screws.
Rear
Remove the original bumper and replace it with the Servo holder. About the Rear screw. Use the screw that MST originally used.
7, Initial setup of SS unit.

Firmware needed from SuperScale2k20
SUPERSCALE_V1.2.ino.hex
*This firmware is pre-installed
8, How to setup SS unit
You need to install Arduino configuration software. Please download it from the link below.
https://www.arduino.cc/en/Main/Software
You may download Arduino IDE software for your suitable platform. macOS or Win
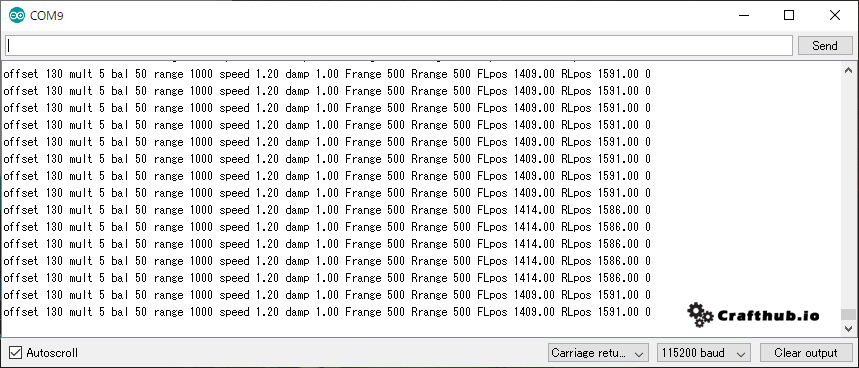
SSunit setup Step1
First, connect the SS unit to the PC and set the offset to 0.
Next set BALANCE to 50.
The servo‘s neutral PWM value is almost 1500
FLpos 1500
RLpos 1500
*you should provide the power for SS Unit cause USB doesn’t provide enough power to move the servo neutral position.
Step2
Check all of the 4 servos in the neutral position, and then Set the servo horn like this.
This hone has a tapered servo shaft connection, so any spline servo can perfectly fit this servo horn. so this servo horn material is PETG. Use with Tapered washer like in the photo.
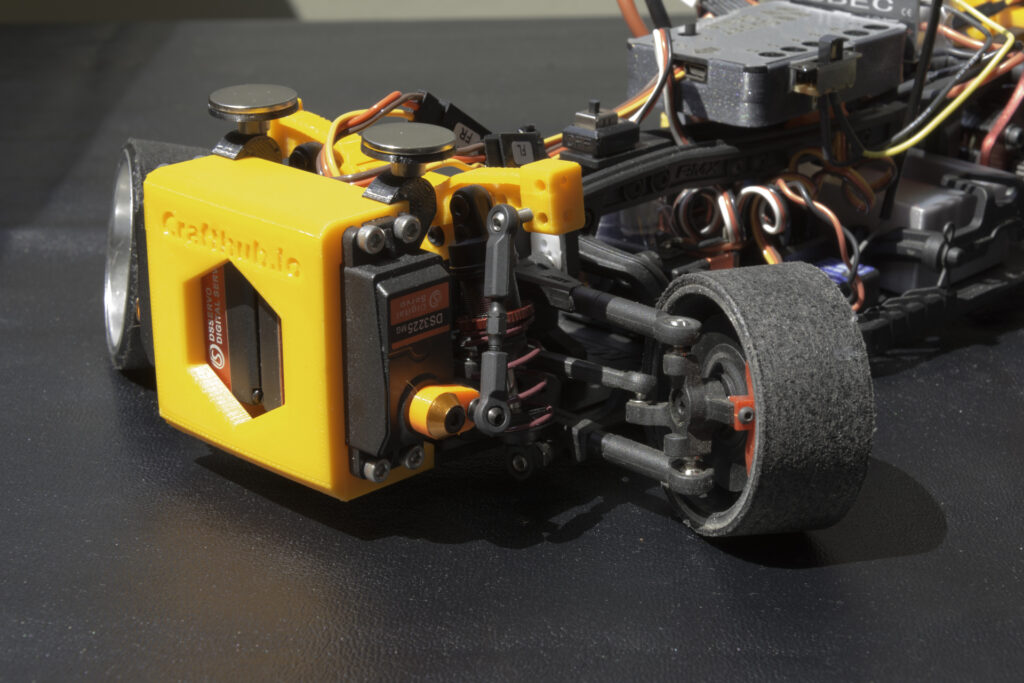
Step3
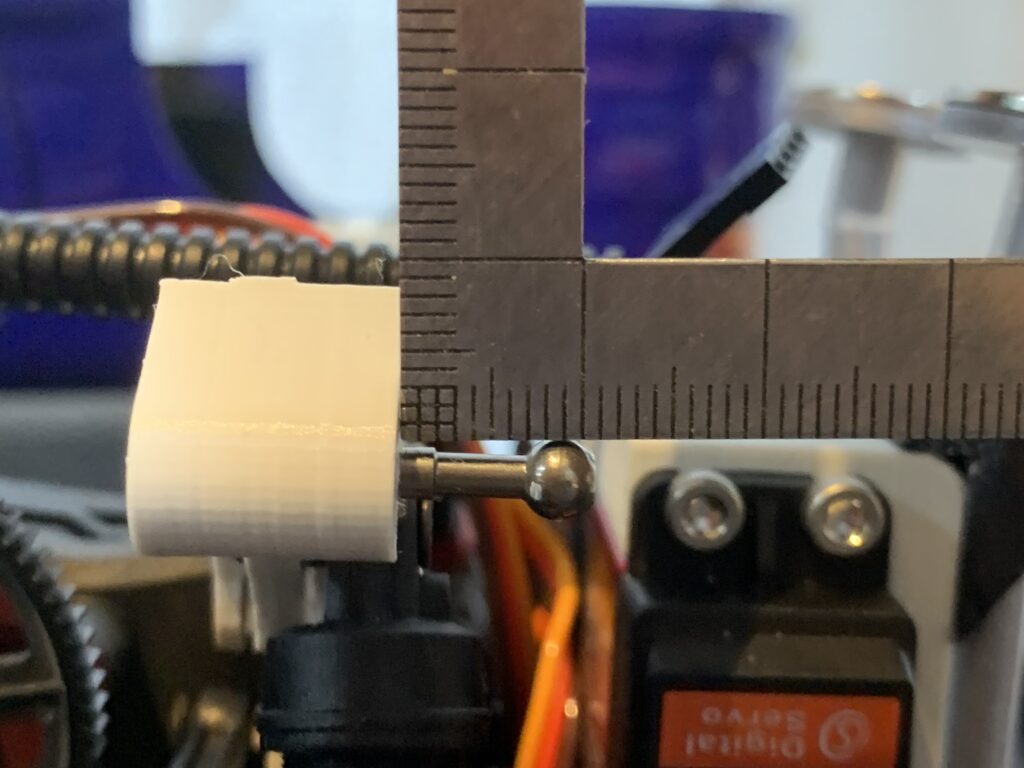
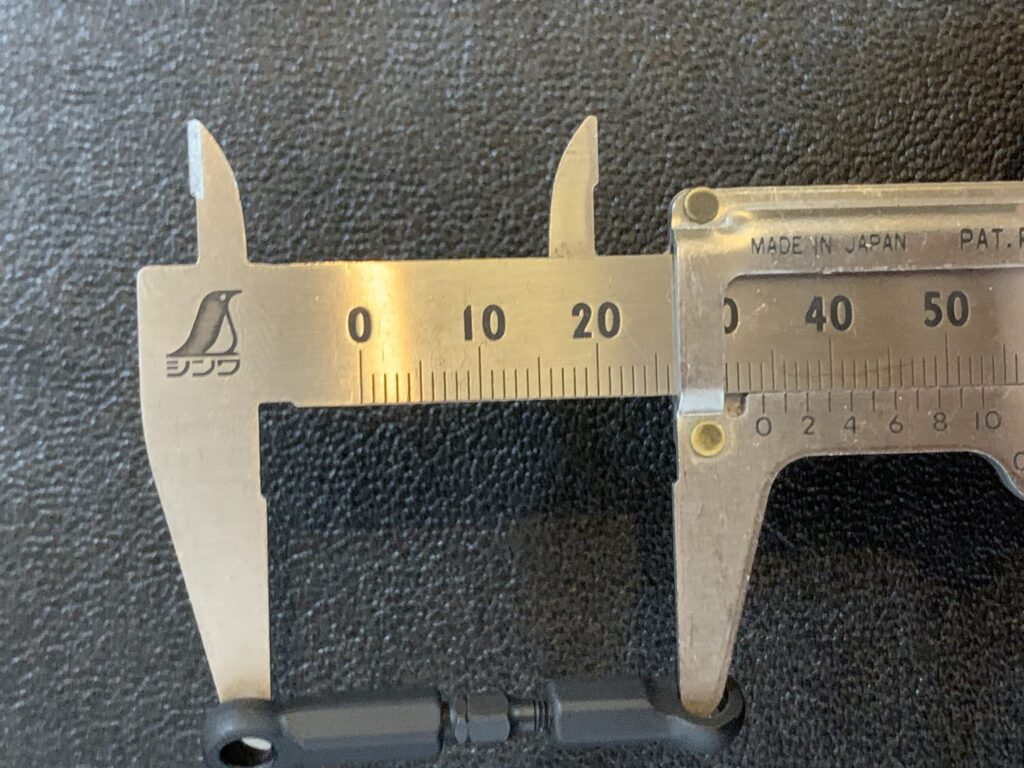
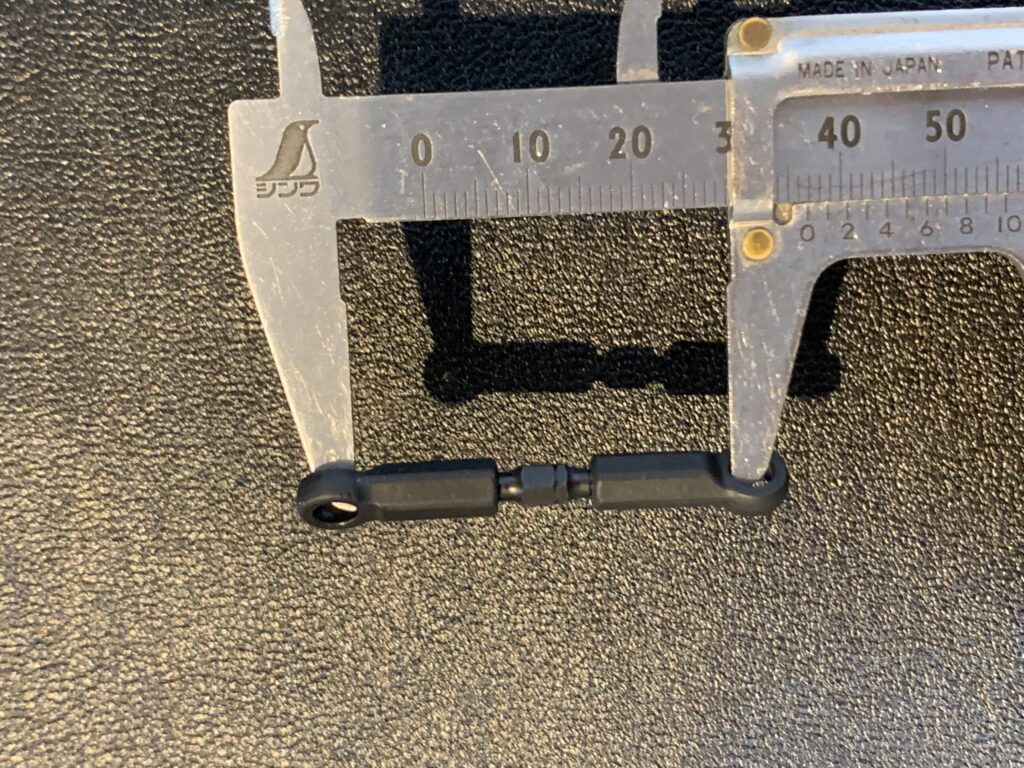
Adjust The turnbuckle length, and then connect the servo and Strut arm.
All about the physical setup is done, please test the sample setting value.
MST sample setup value
This is the start value to set up the active suspension
For more detail, please refer to SS unit manual.

It will be better to change more high viscosity dumper oil.
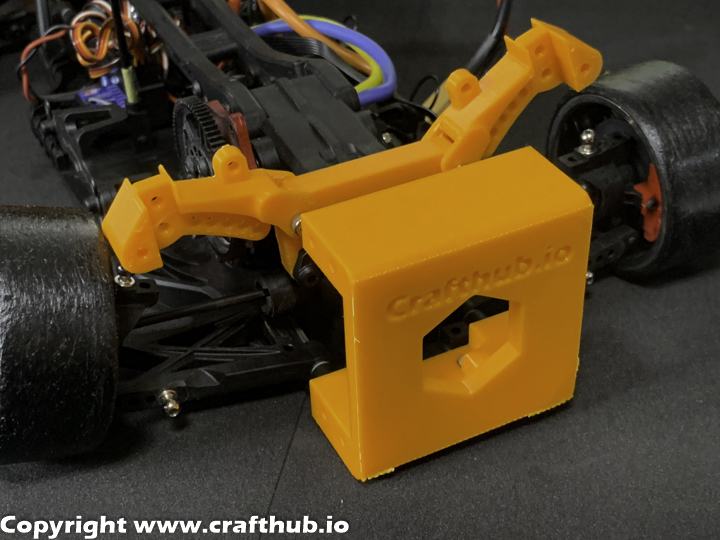
Ver2
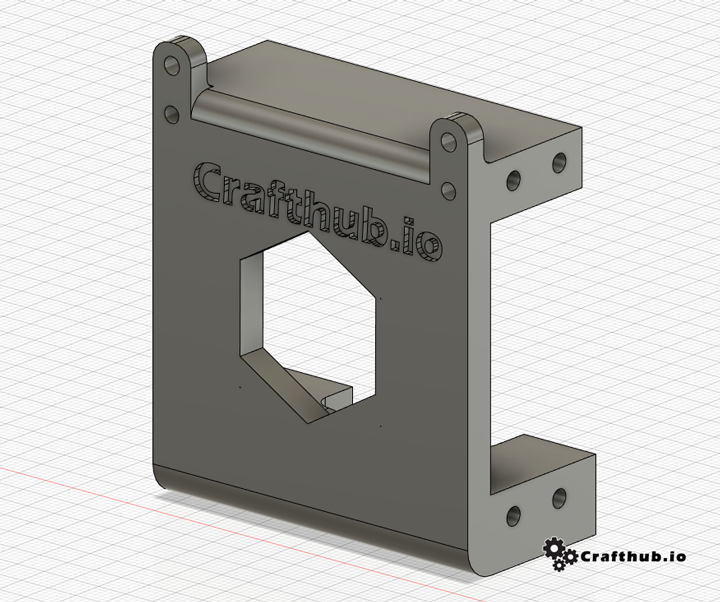
Ver 2 servo holder is an integrated body holder
Disclaimer
Do not use this file for commercial purpose without any permission.
PDF file
The product can download from www.crafthub.io