

For1/10 scale drift car detail-up kit.
This kit is a detail-up kit for RCdriftCar. You can choose RHD/LHD. Connect the servo to the receiver’s unused channel, and mix the steering channel with your chosen channel.LED power is also taken from the receiver.
Note This data is optimized for 1/10Scale drift Car.
Datakit
You have to print out all parts by yourself. The material you should use depends on the parts. Please choose the correct and affordable material.
Future
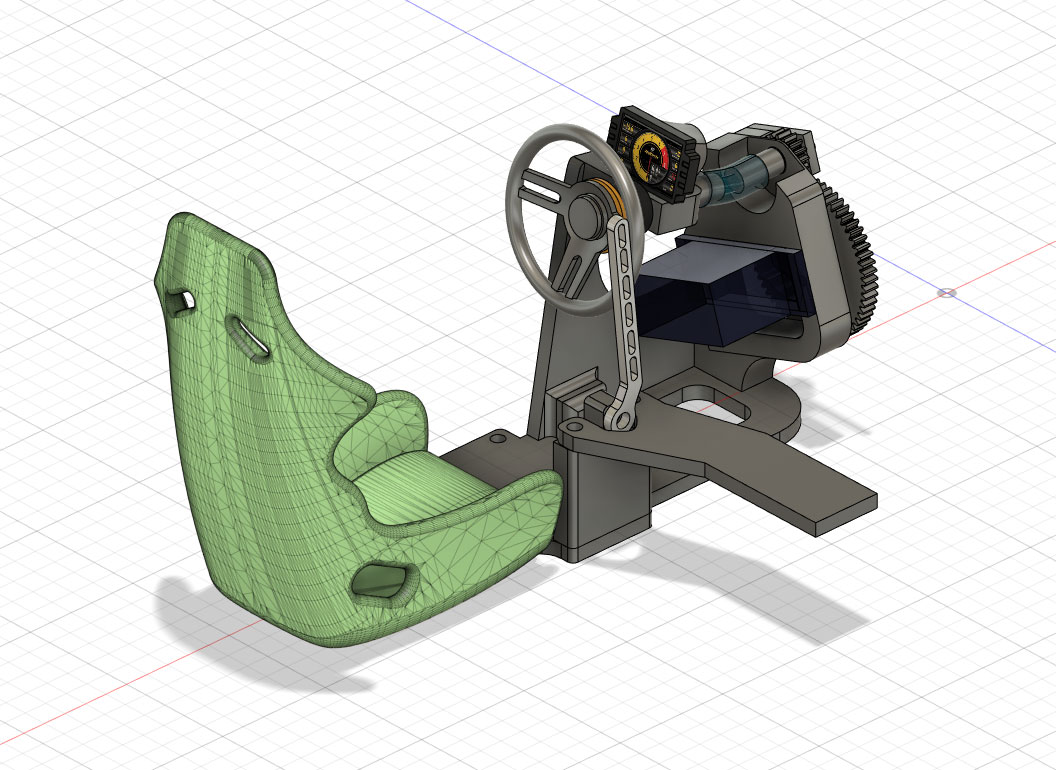
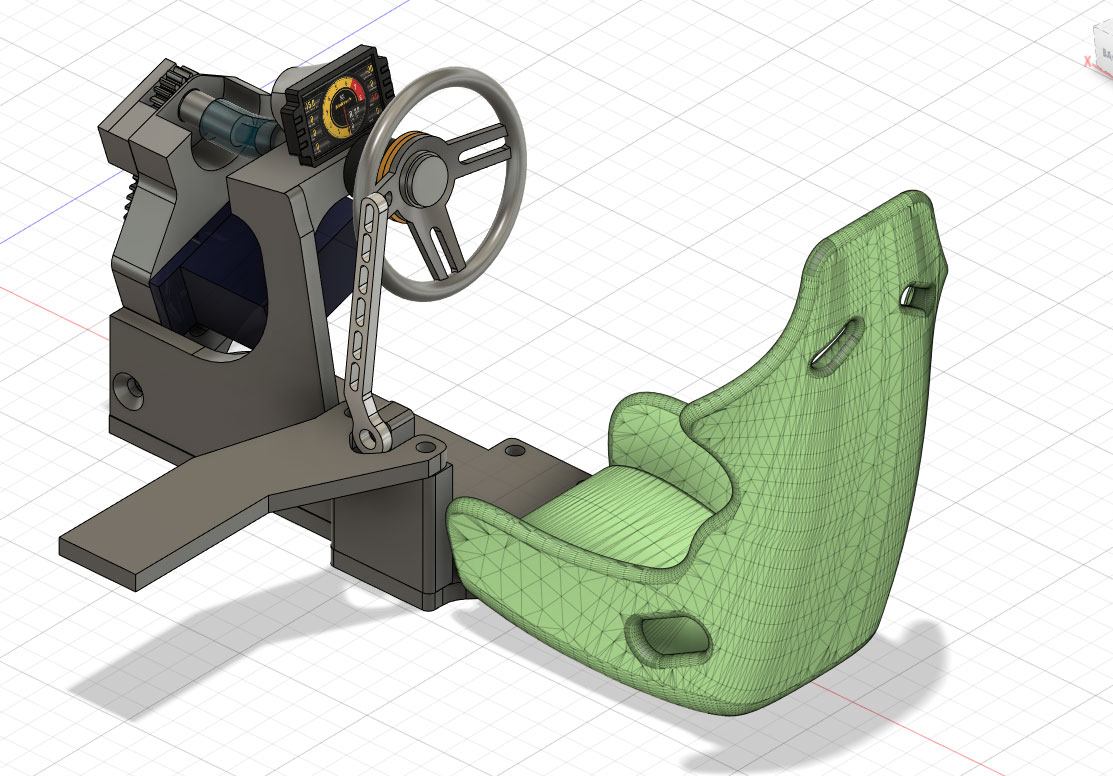
- Design for 1/10 scale drift car.
- You don’t need any modification, even make a hole in the genuine chassis. Real Steering Wheel moves
- Detachable steering Wheel
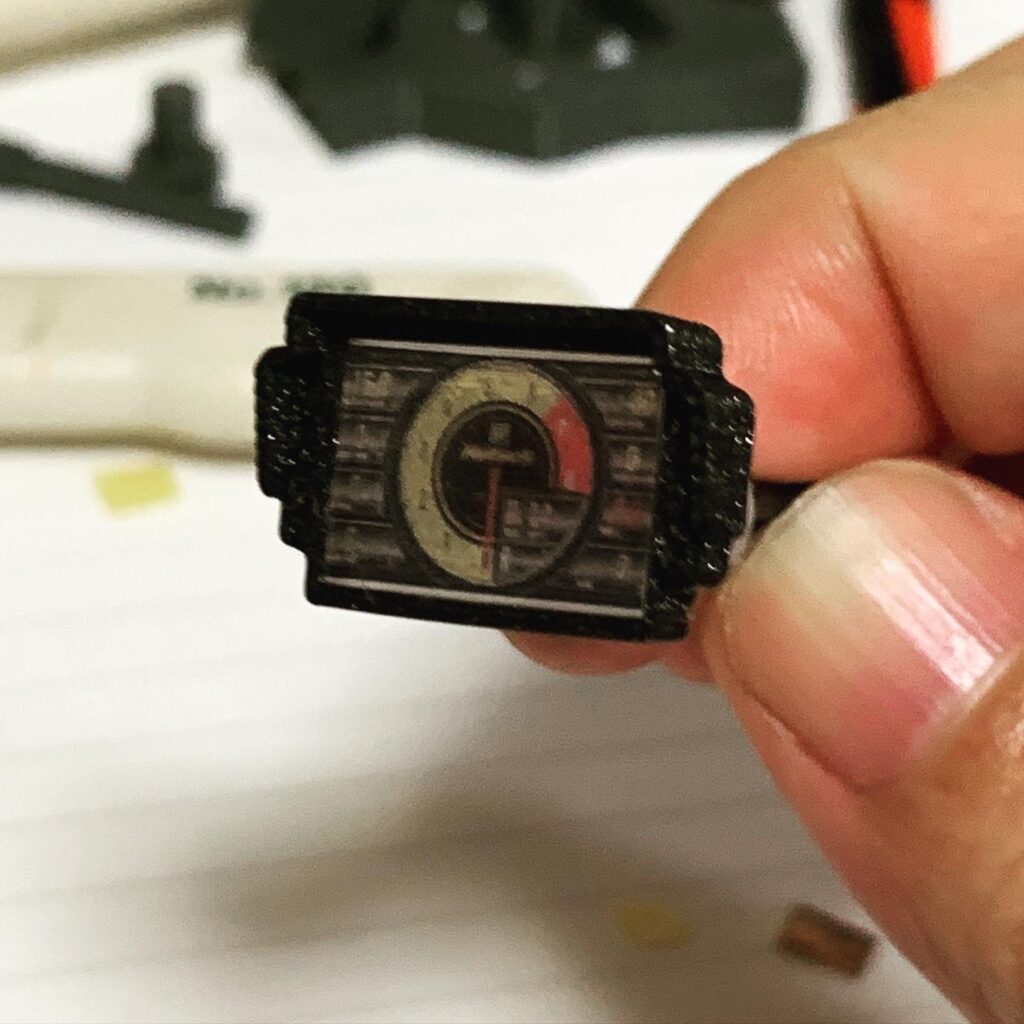
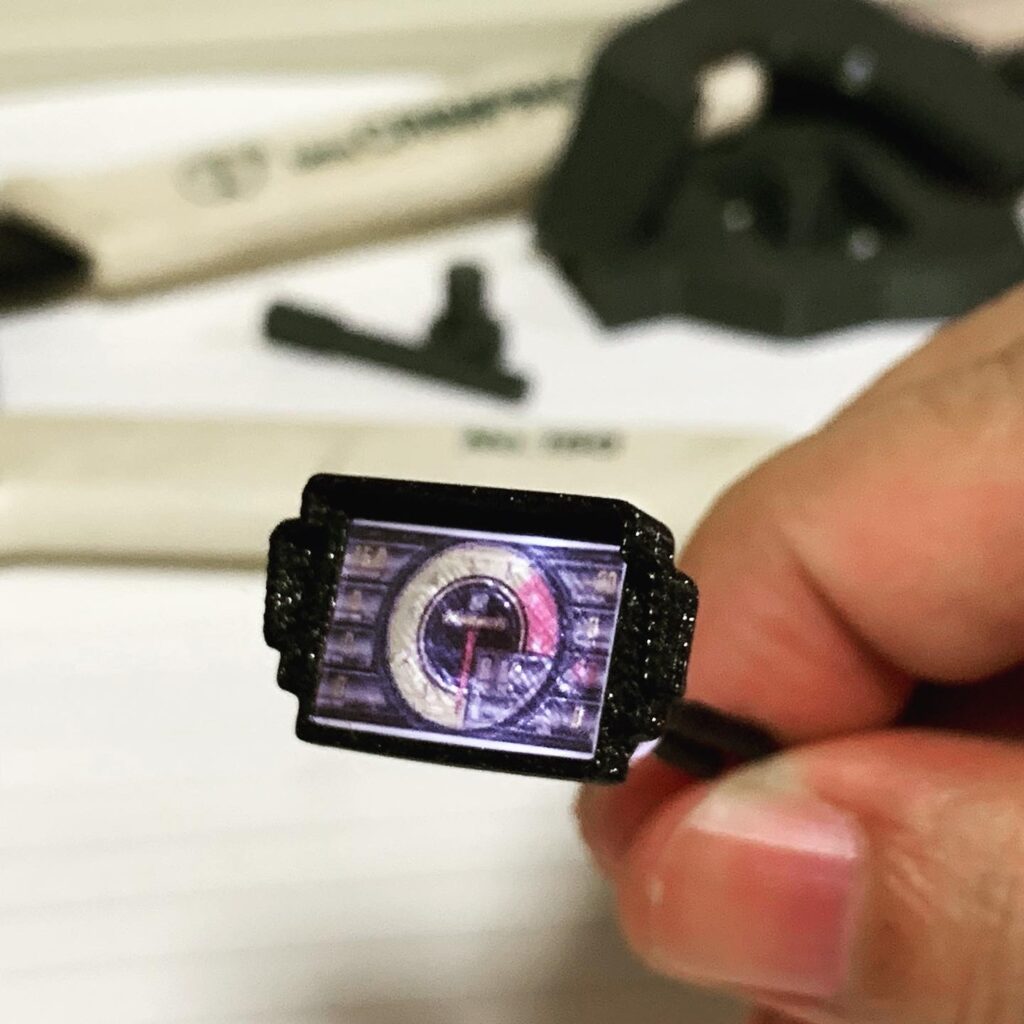
- 1/10Scale engine monitors
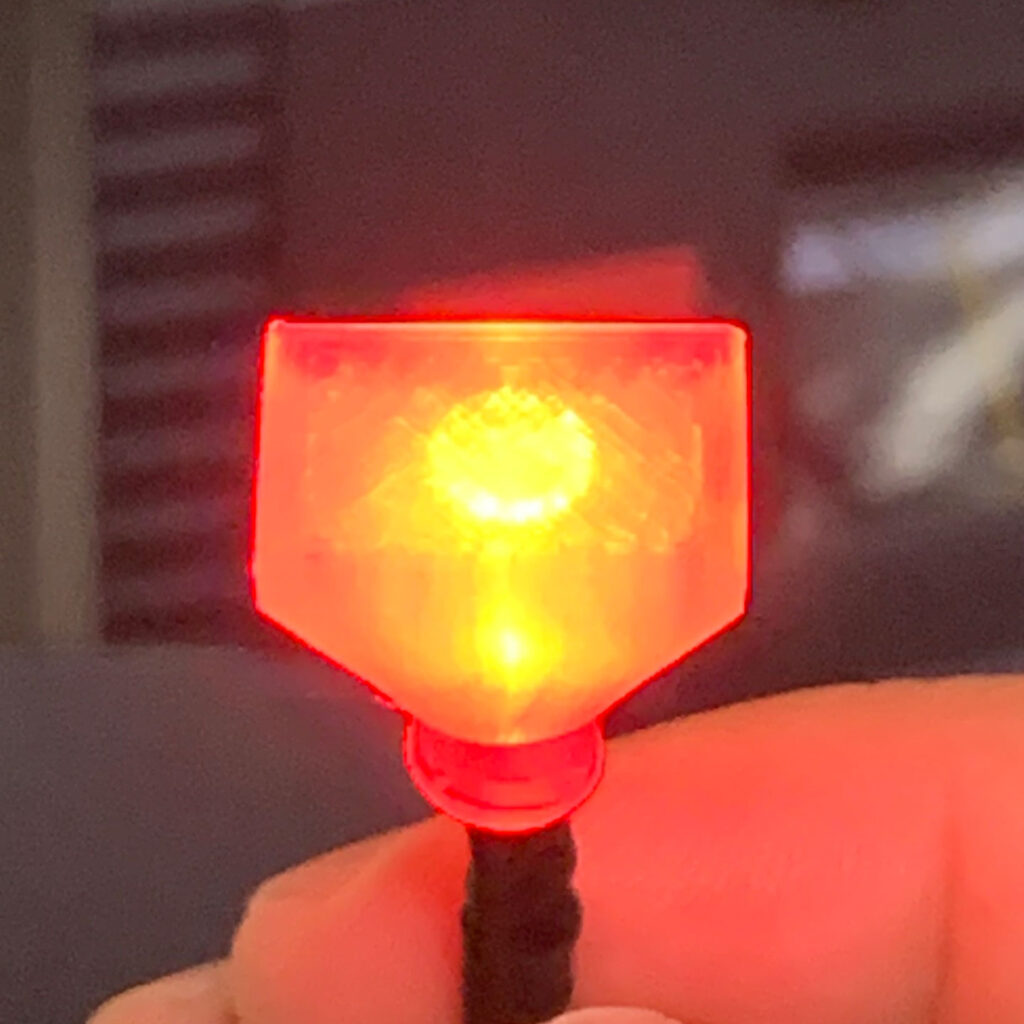
- Hand brake lever
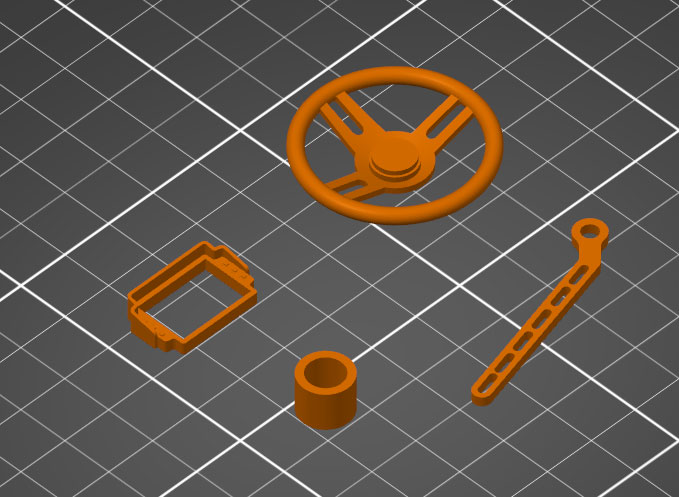
What is contained in this kit?


0.4mm nozzle All of parts infill rate: 20%or more.
Haltech displays JPG image, Print out with sticker sheet.
What you need without this kit
- 9gServo you can get from Amazon at a cheaper price
- 5*2 neodymium magnet you can get from Amazon at a cheaper price
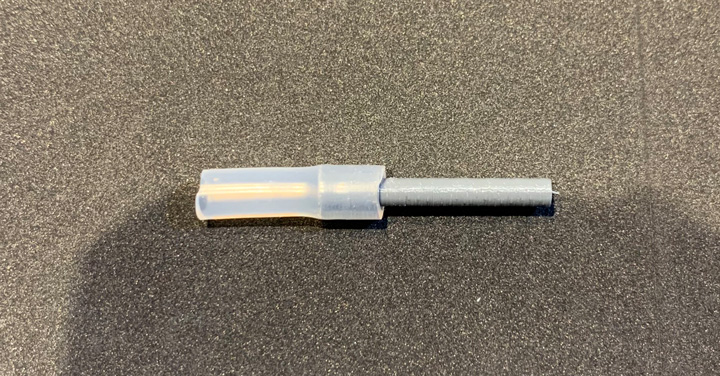
- Silicon tube Fuel tube for IC engine, you can get hobby shop.
- 3*6 Flathead screw x3
- 3*6 Botton screw x3
- Appropriate Glue for the material.
- Double side tape
Assemble manual
1
Print out all parts with appropriate material. In this kit, we strongly recommend using Colorfabb HT filament.
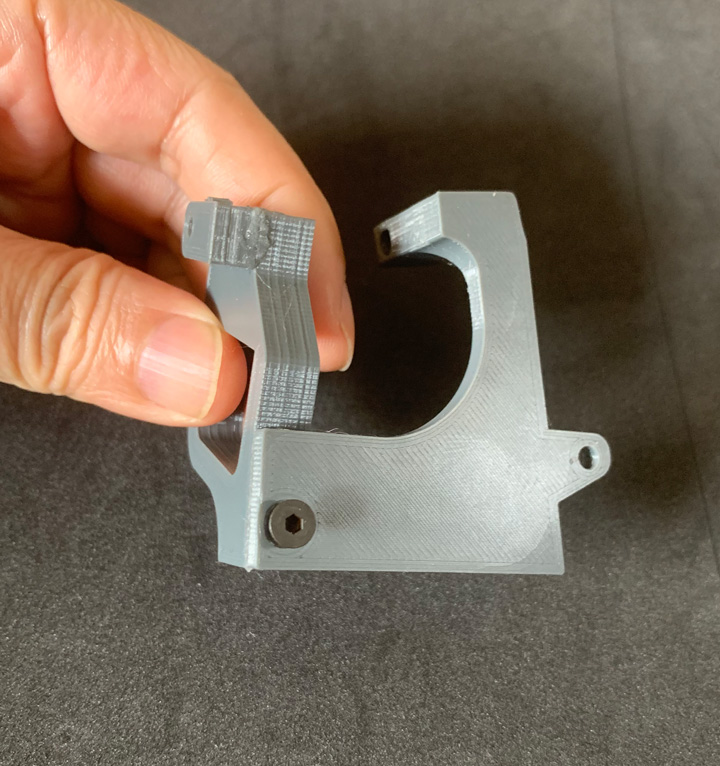
2,Gearholder
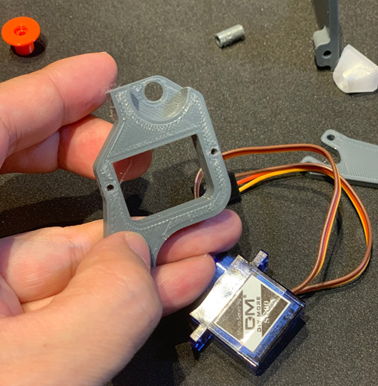
Install 9g servo on gear holder. Servo comes with self-tapping screws.
Use this screw and assemble.
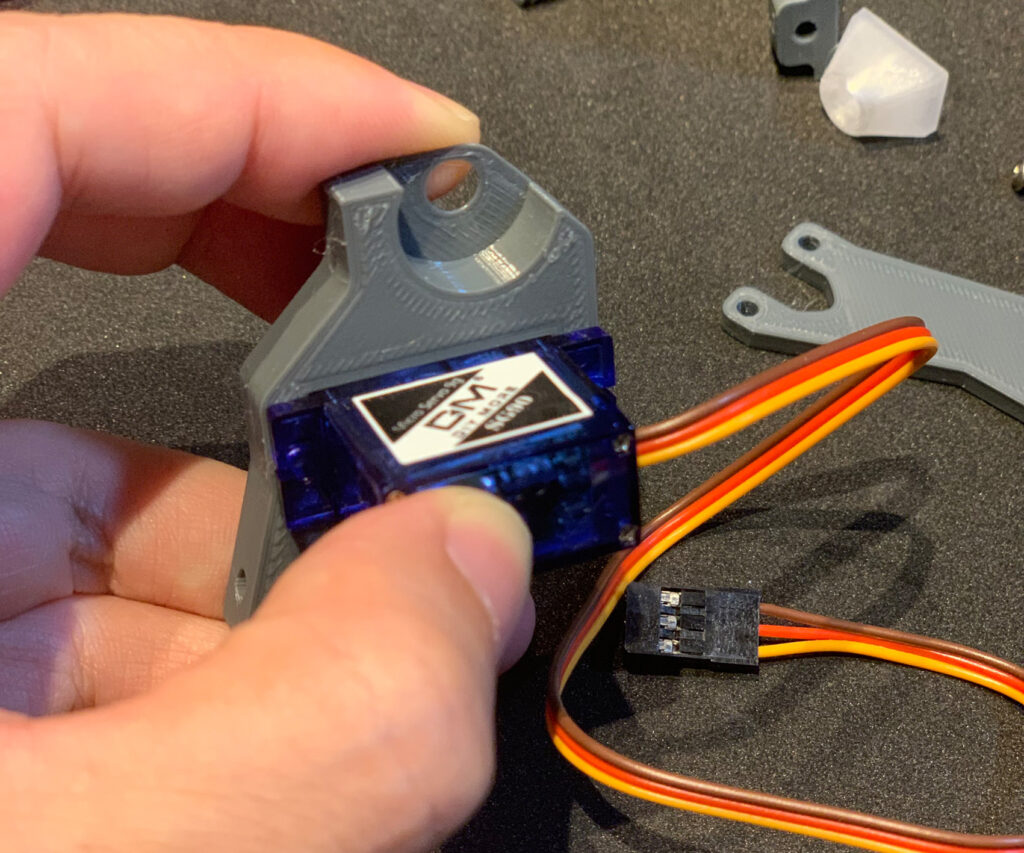
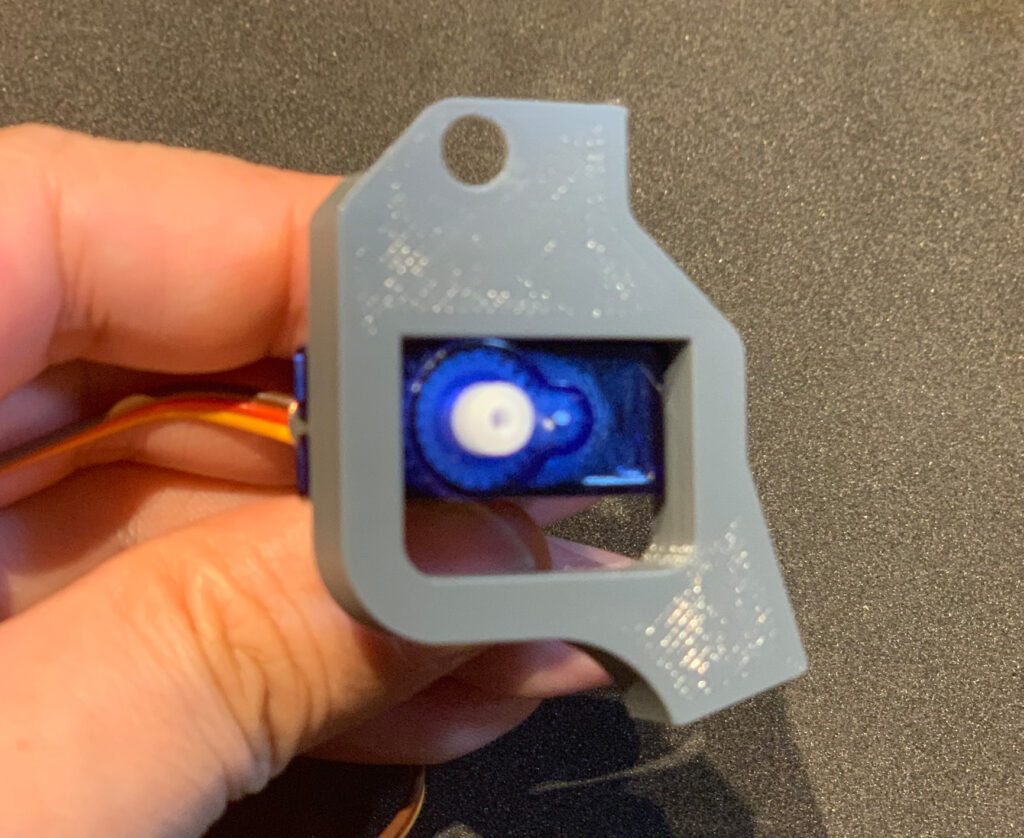
Check the part’s dimensions
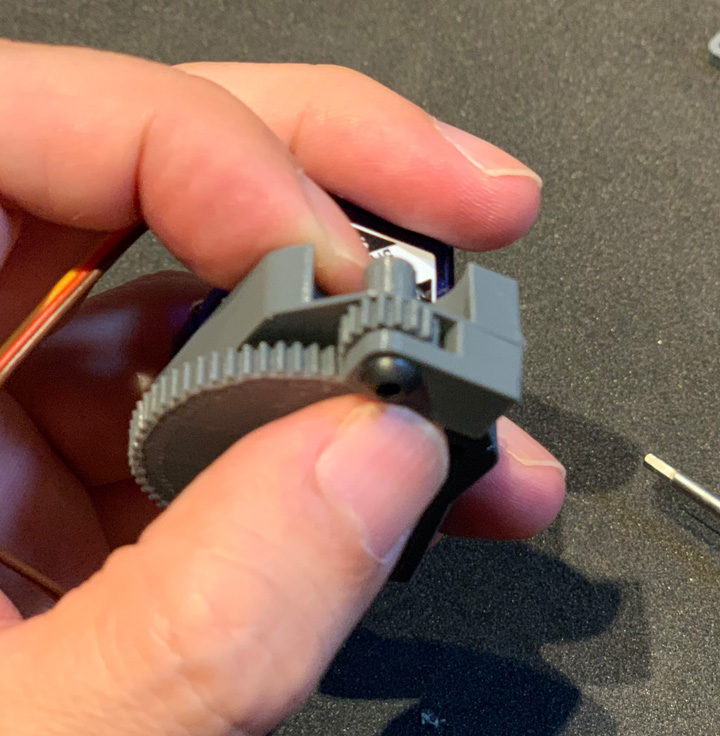
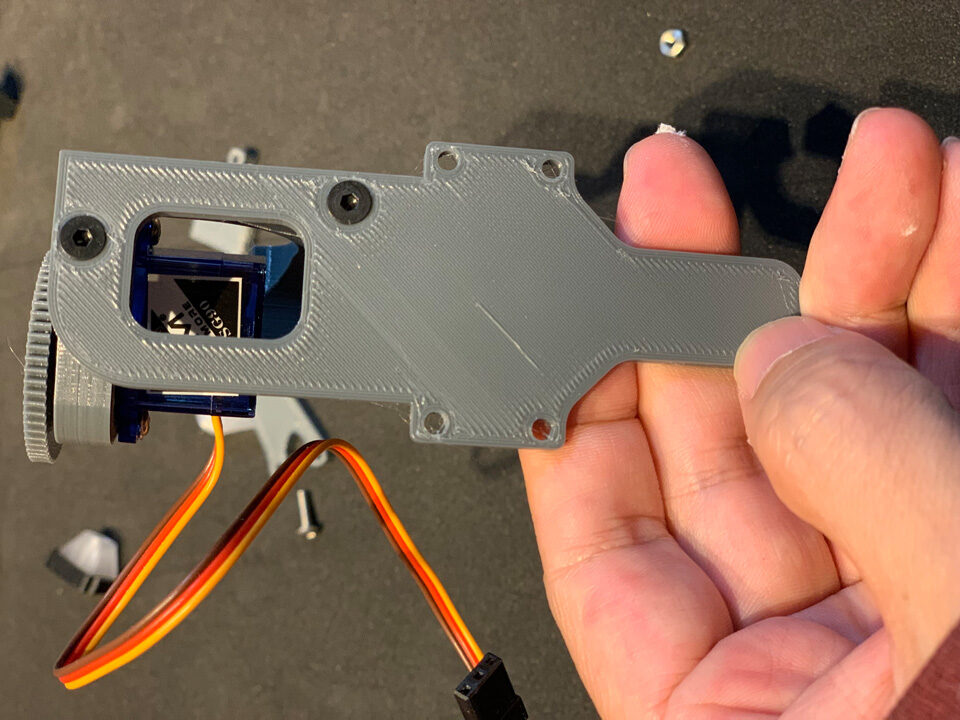
3 install the gear
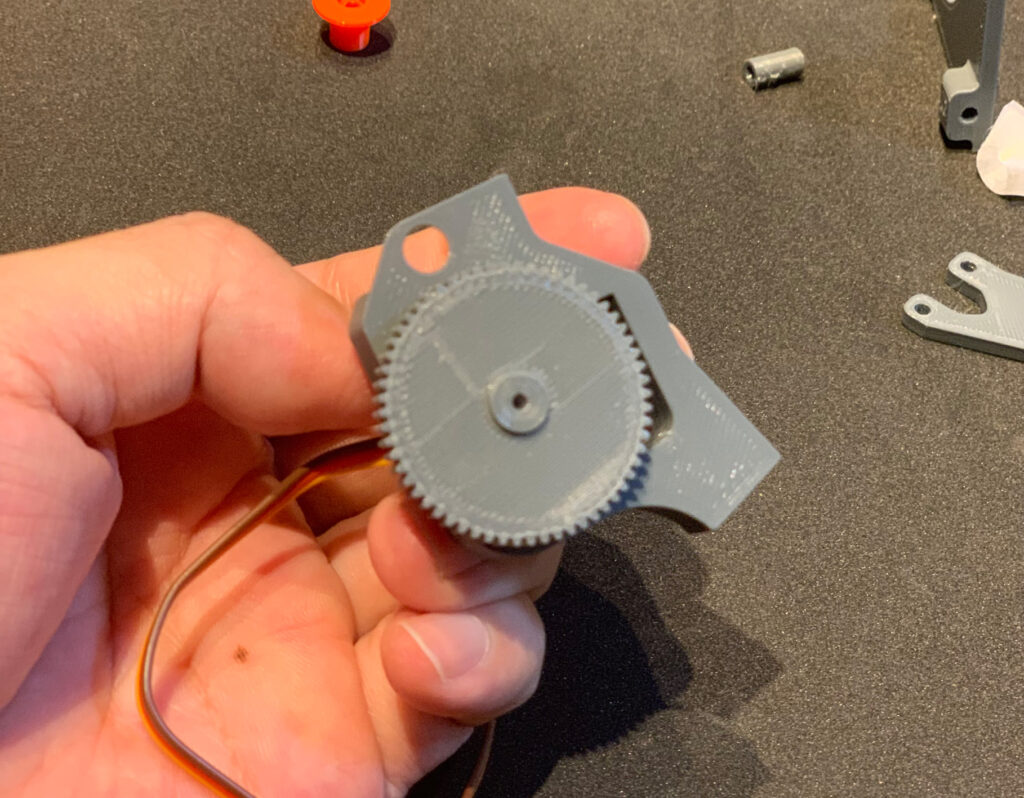
And set the gear with self-tapping screws that come with the servo.
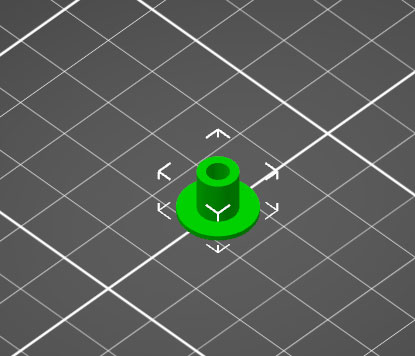
4 make output gear
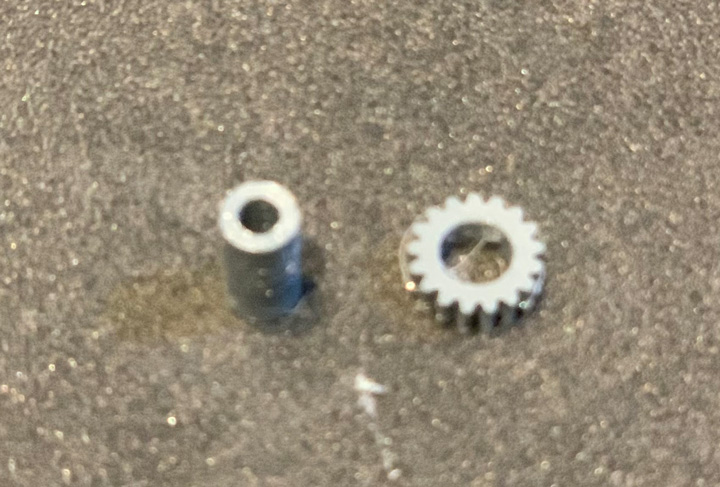
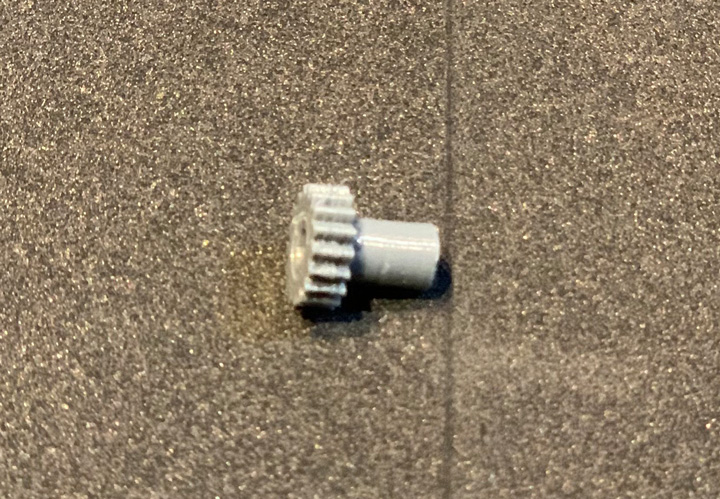
Check output 17T gear and shaft. Gear should apply to the hole side. When assembling them, apply appropriate glue.
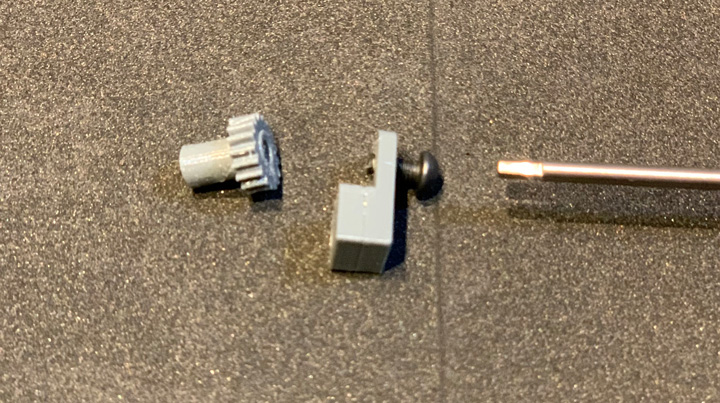
With the M3*6Bottun screw, the shaft must spin easily.
Those parts and the Gear frame assemble with glue. When you assemble it, please gear’s backlash and check the gears move smoothly.

5, Assenble Steering shaft
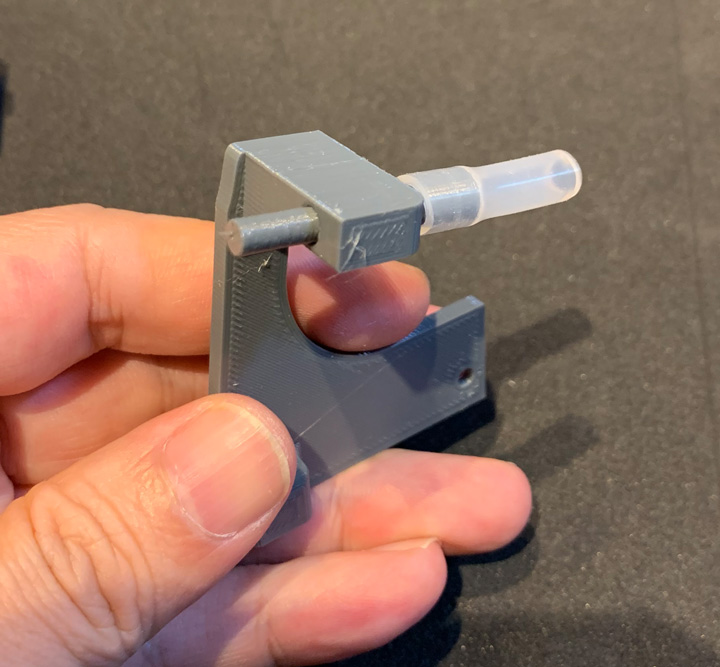
6 Assemble Steering Unit
Using glue with a screw will be better.
7 Steering column assembly

8 ChoseRHD/LHD
8-1 Engine monitor
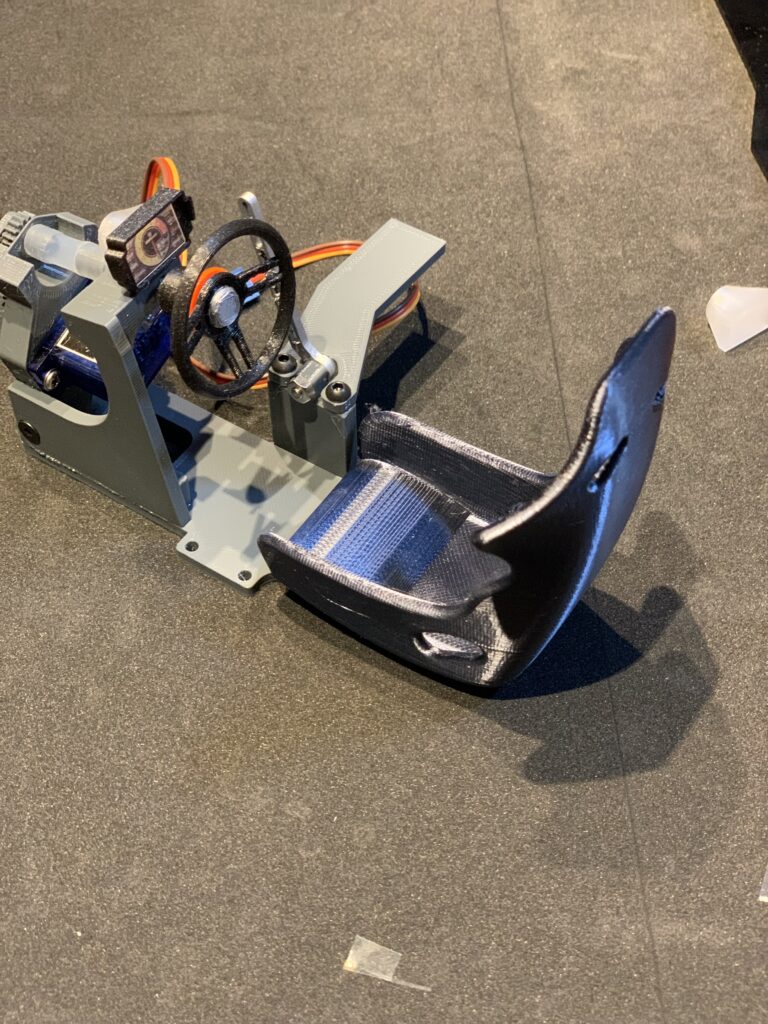
9, Attach to the chassis.
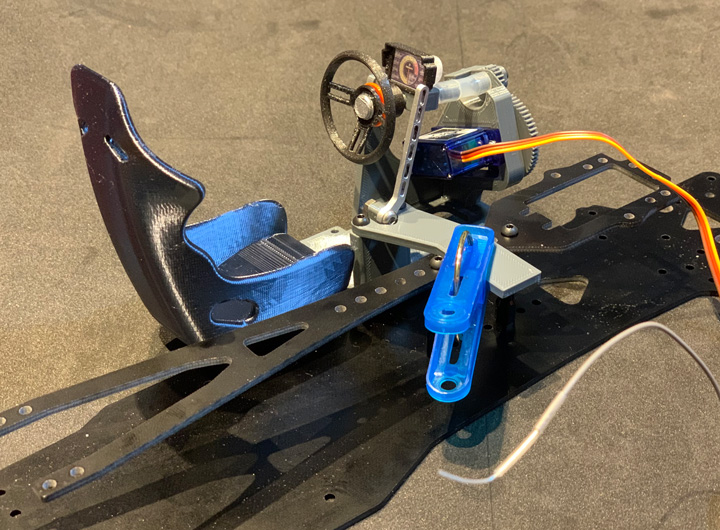
Use pinch,adjust the mounting place and fix with double-side tape
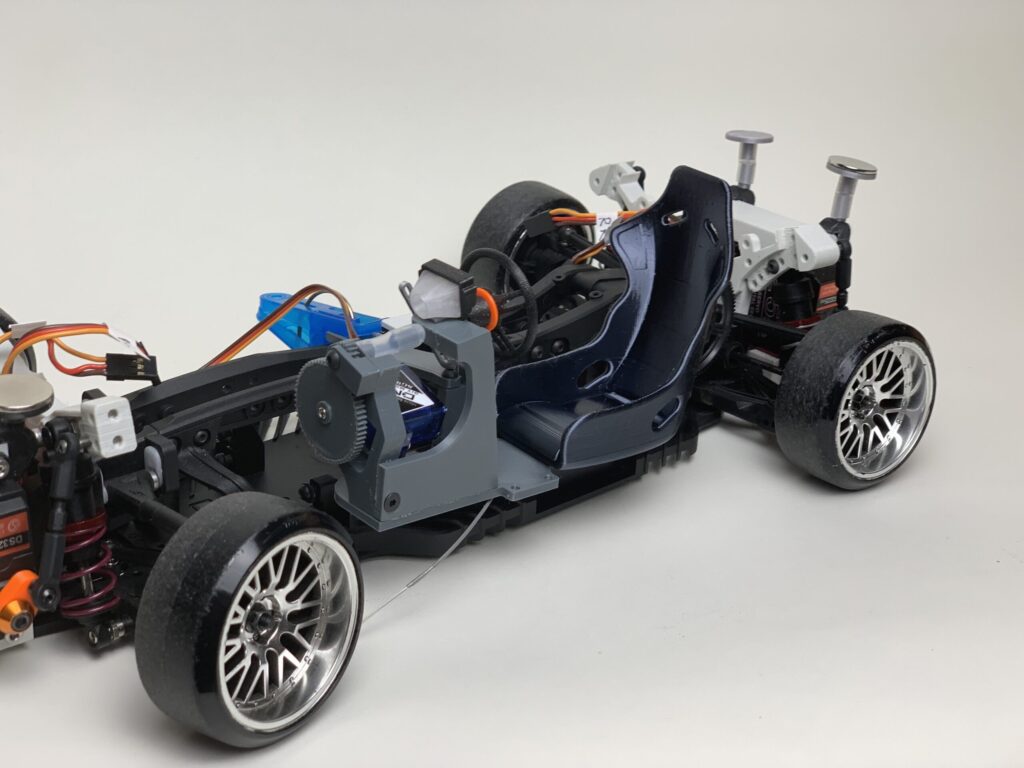
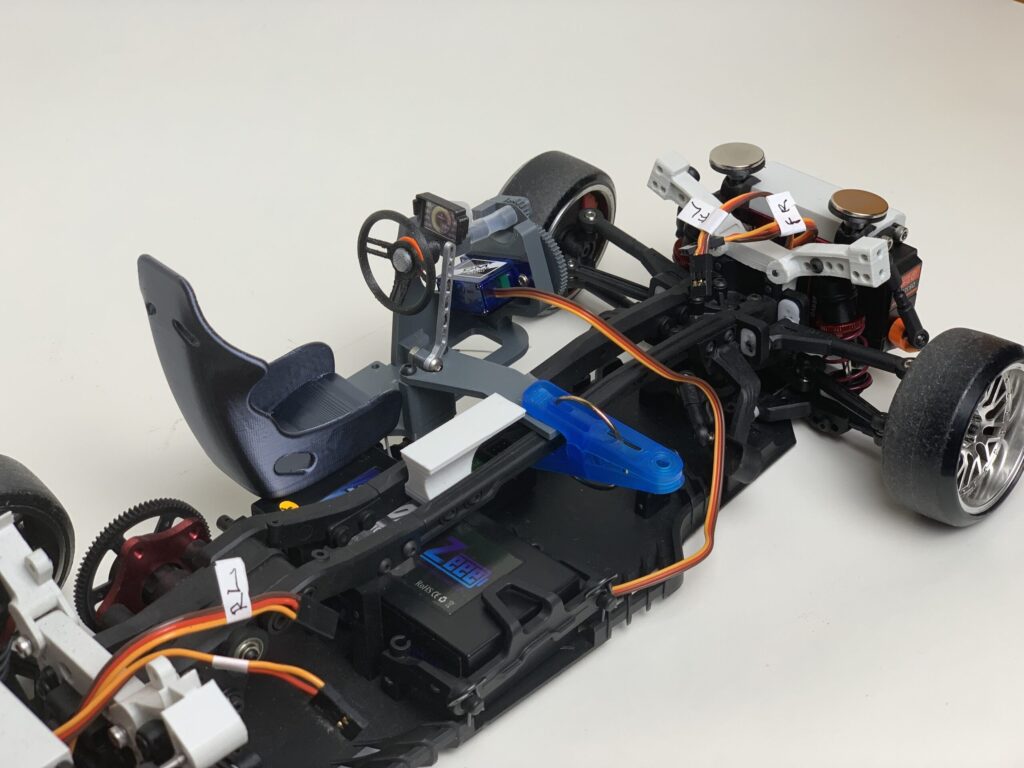
Sample MST RMX2.0
Disclaimer
Do not use this file for commercial purposes without any permission.
This model is designed to make FDM 3Dprinter, the parts have some additive markings, however, is no problem with those parts’ functions.
PDF file
The product can download from www.crafthub.io