
Introduction
The track conditions on the RC Drift Circuit have been very good recently.
In such road conditions, a plastic chassis conversion kit like this is an alternative to
a carbon chassis. This kit is very flexible and properly rigid, allowing for maximum tire grip.
We recommend PETG material. Highly recommend using colerfabb HT.
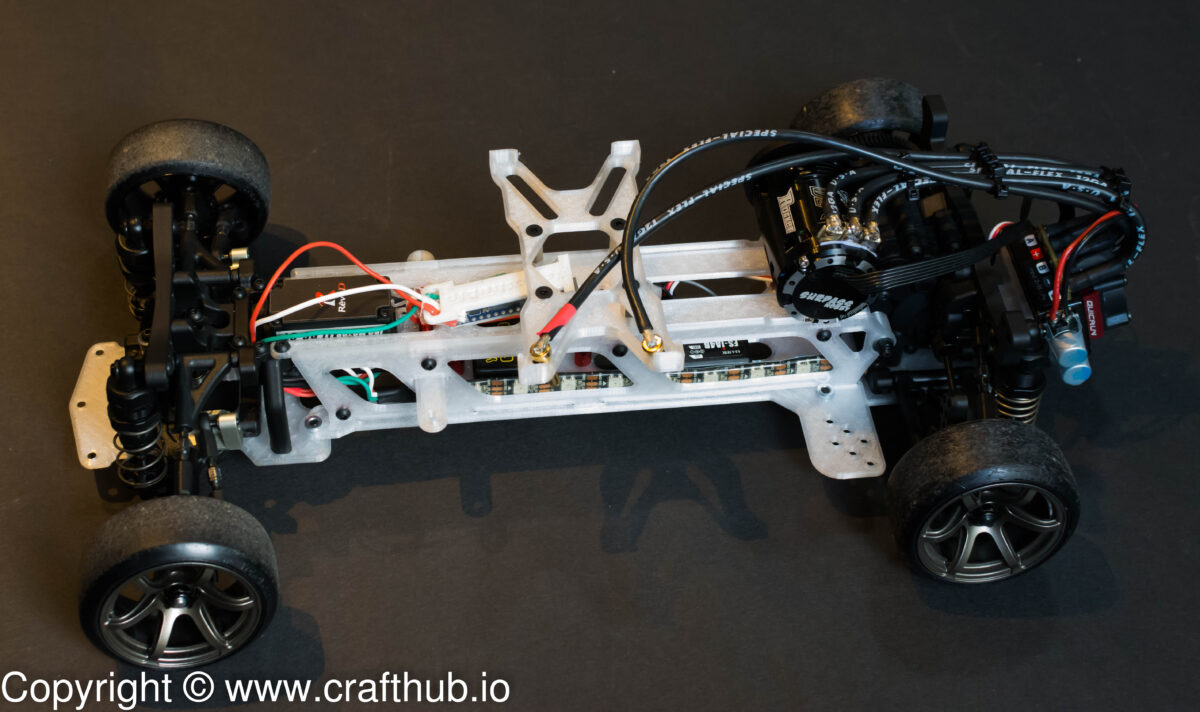
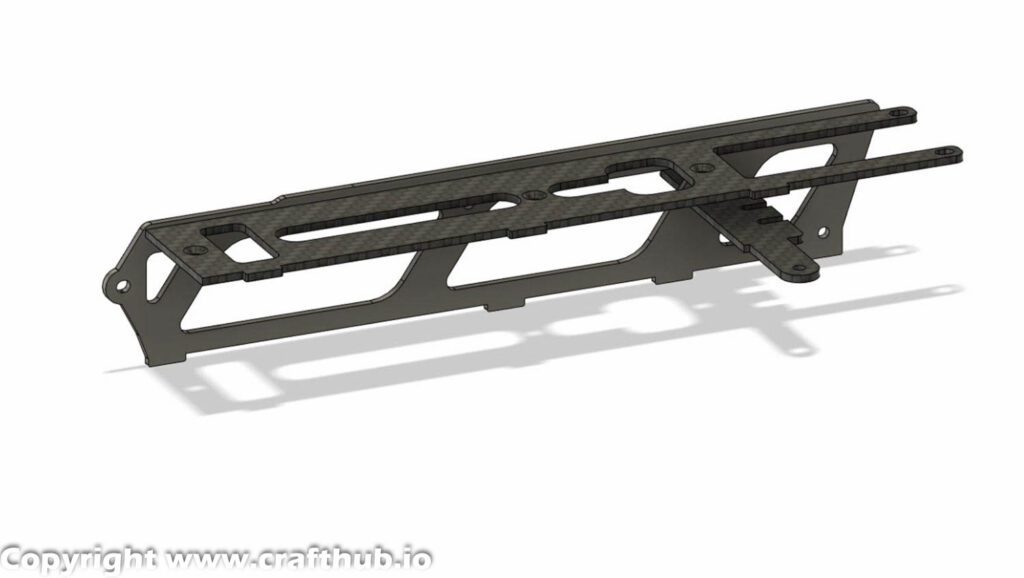
3Dprint chassis conversion kit for Yokomo YD2-z or Yokomo YD2SX3
This kit is a 3Dprint conversion kit for Yokomo YD2z or YD2SX3.
If you use withYD2z basic kit , you need Yokomo`s Genuine optional parts.
•The lightweight slide rack sets for YD-2Z (item No Y2-202SZ) (recommended) If you use with YD2 SX3kit, you need Yokomo`s Genuine optional parts.
- YD2zTransmissioncase (Item No Y2-302Z), Motor mount (ItemNoY2-304Z),ransmission case(ItemNoY2-302Z) etc.

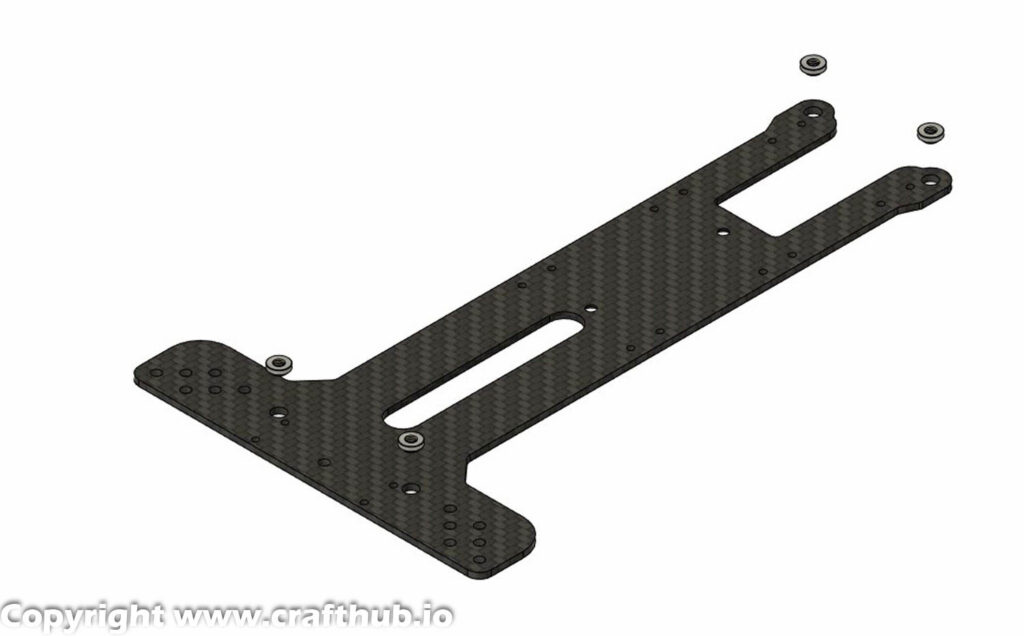
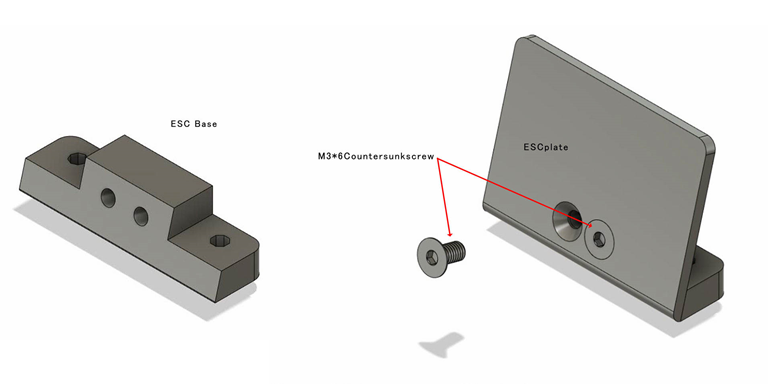
Parts list

Nozzle 0.4mm
Recommended filament
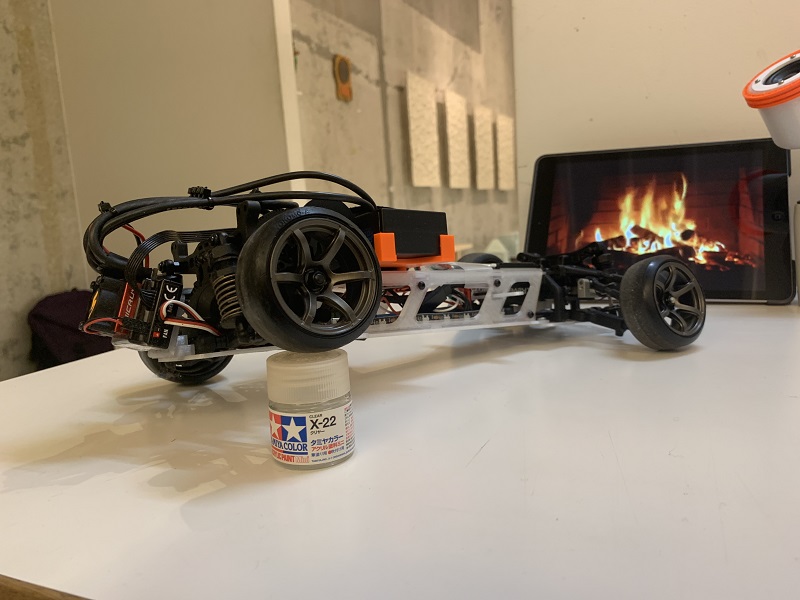
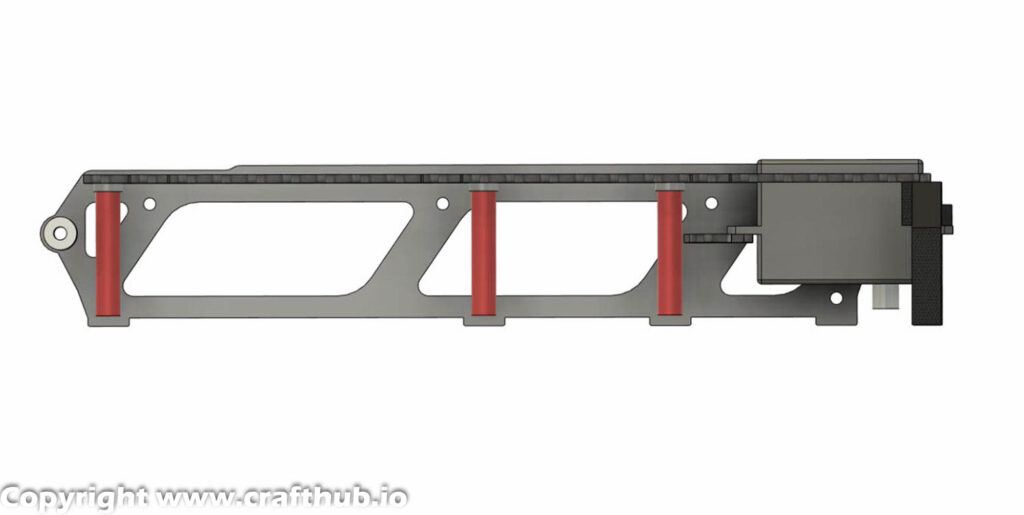
Chassis build
you use 3Dprinted frame parts only, you can also ride without any problem.
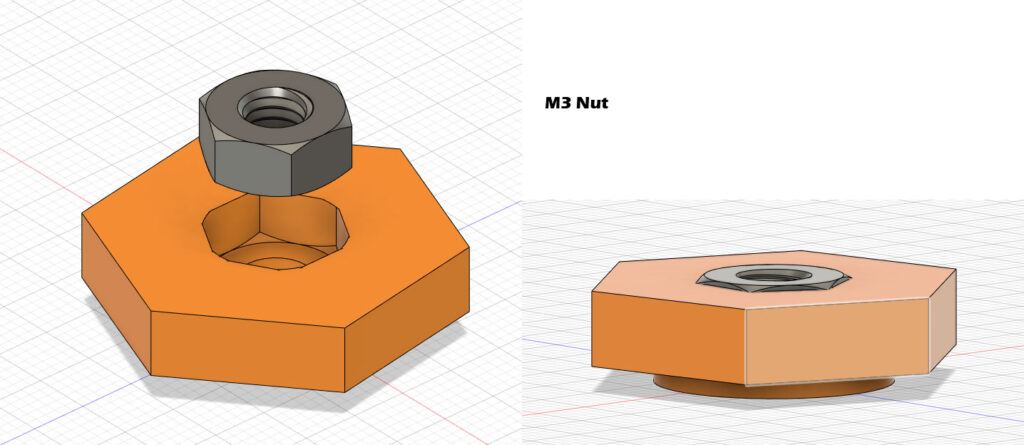
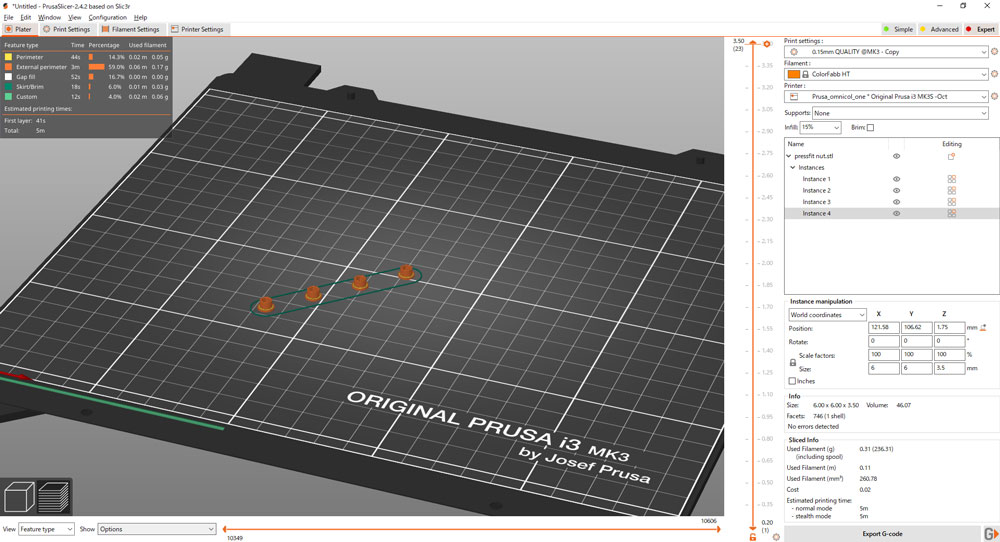
If you can get M3pressfit nut, please use it .otherwise you should use M3pressfitnut.stl
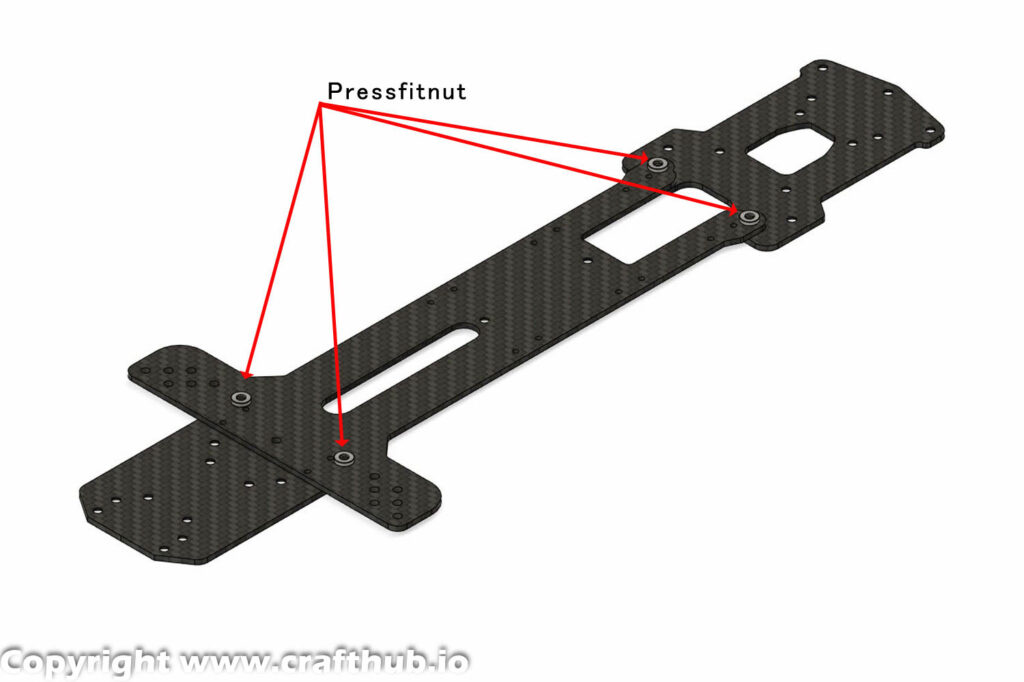
If you can get M3pressfit nut, please use it .otherwise you should use M3pressfitnut.stl
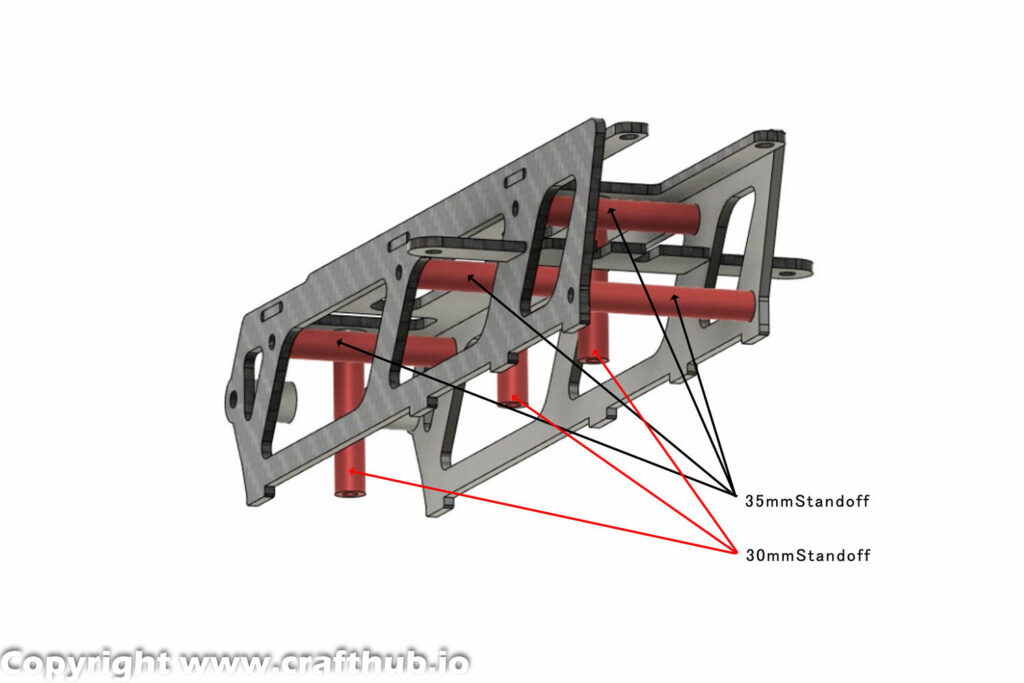
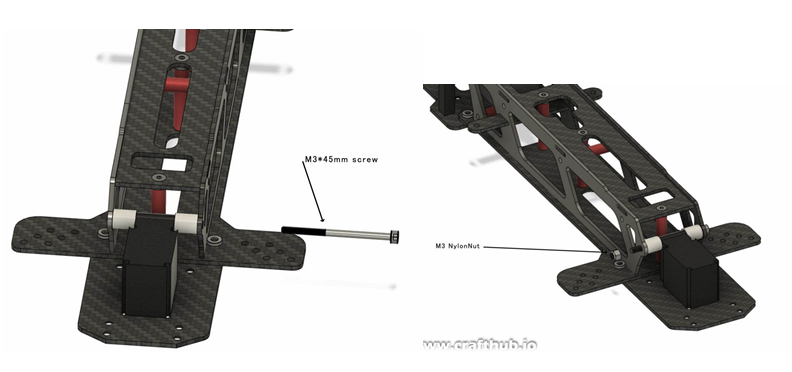
Place a 2 mm spacer between the upper deck and the 30 mm stand-off.
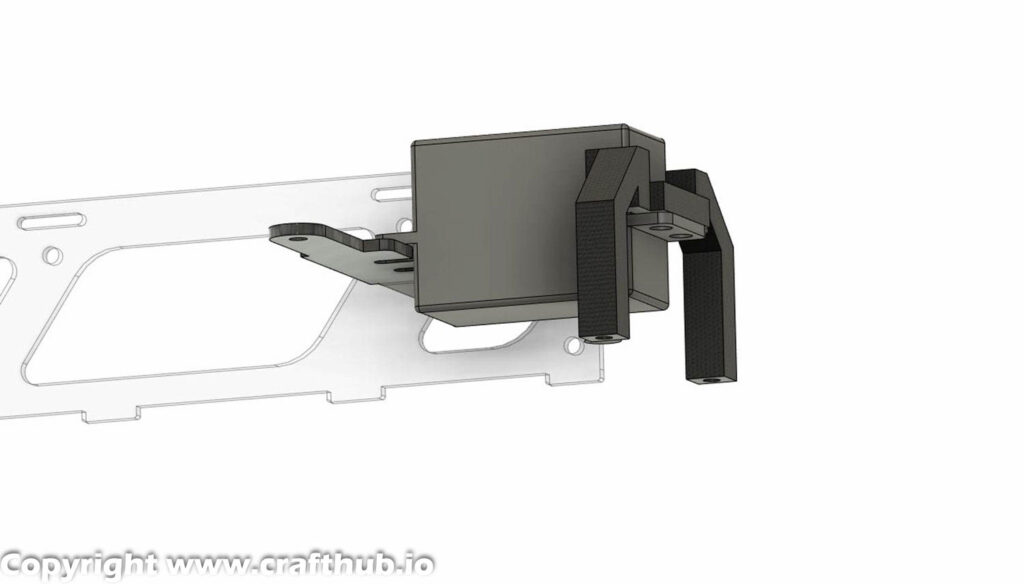
Please check the servo mount tab position.
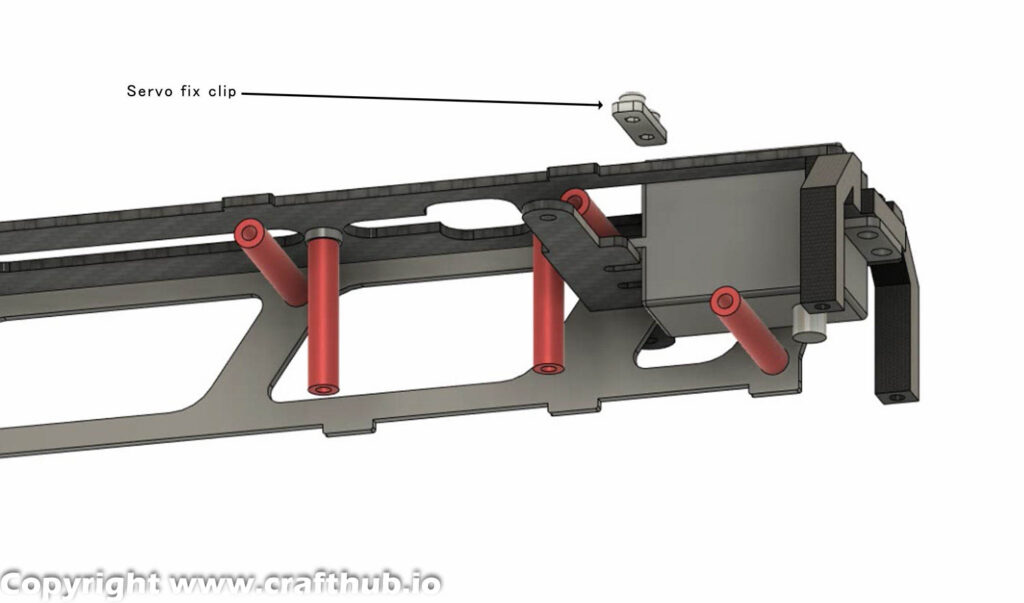
-Install steering servo on the upper deck in the same orientation as the original chassis.
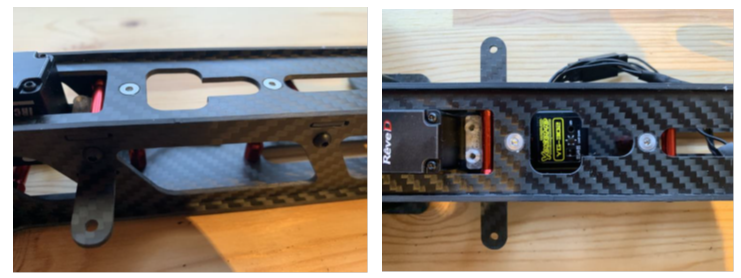
Install the receiver and gyro on the bottom deck with double-sided tape
( you can install the receiver and gyro on the top deck, but it will limit your placement
options of the battery tray).

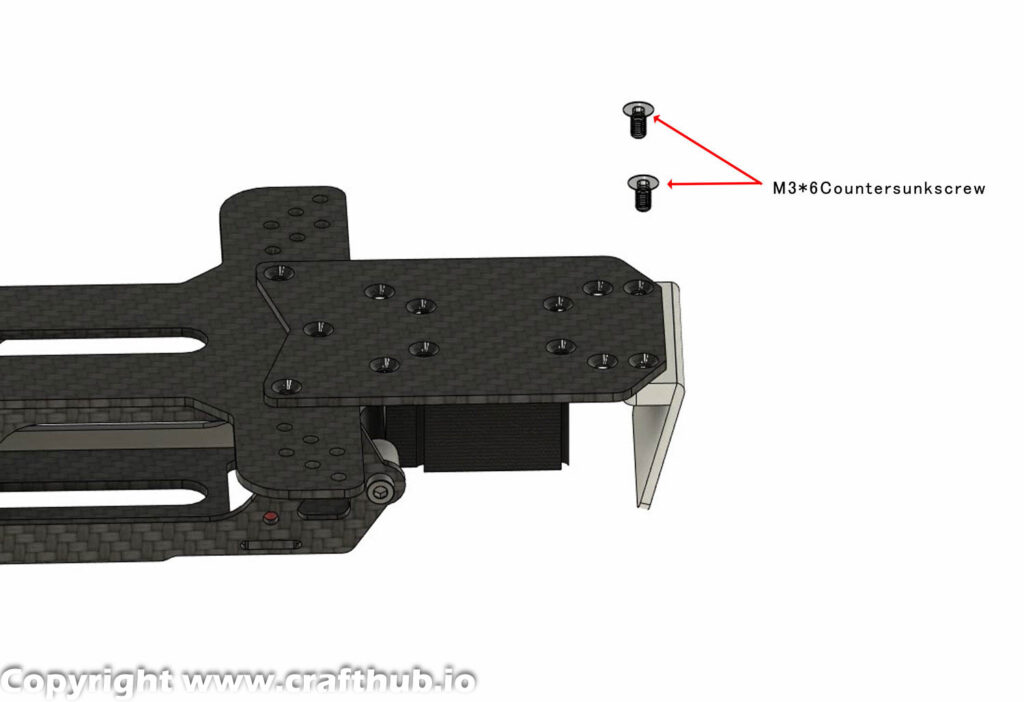
-Connect assembled upper deck and side frame to the bottom deck with 6x 3*8 flat head
screws ( make sure your gyro and receiver are installed to the bottom deck before).
Use the service hole to adjust a Gyro
After connecting the upper and bottom deck slightly loosen all the screws and
check that the body doesn’t have any distortion or misalignments, then tighten again.

Adjust the battery mount place where you want.
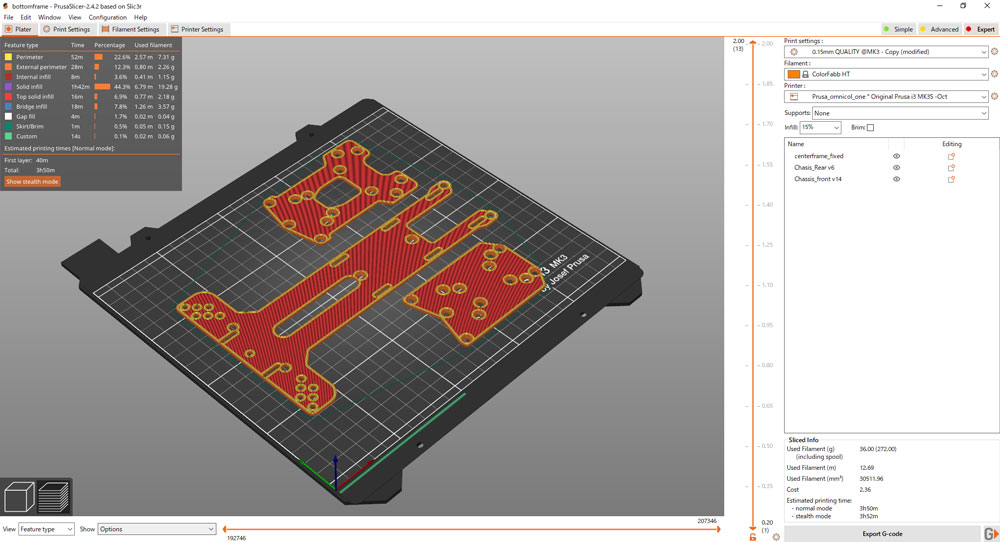
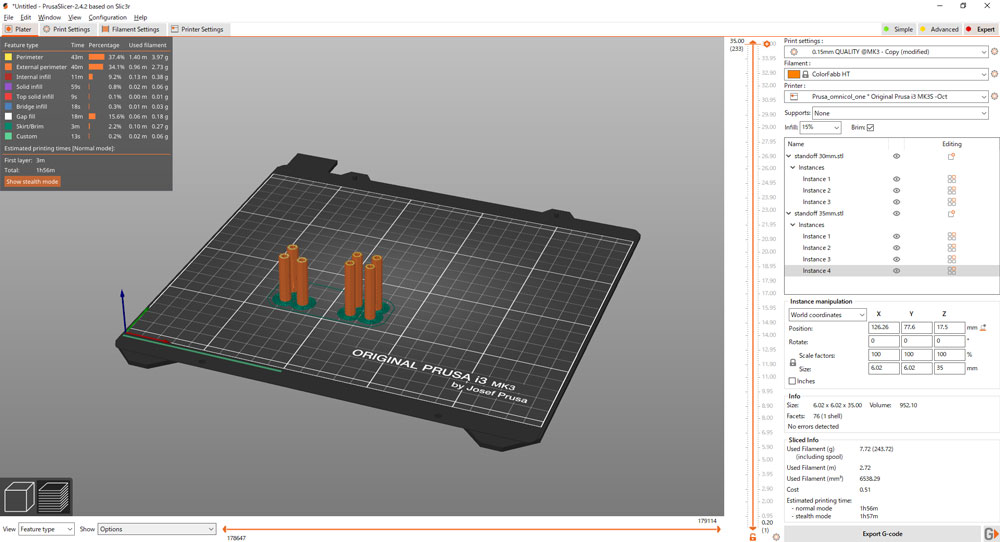
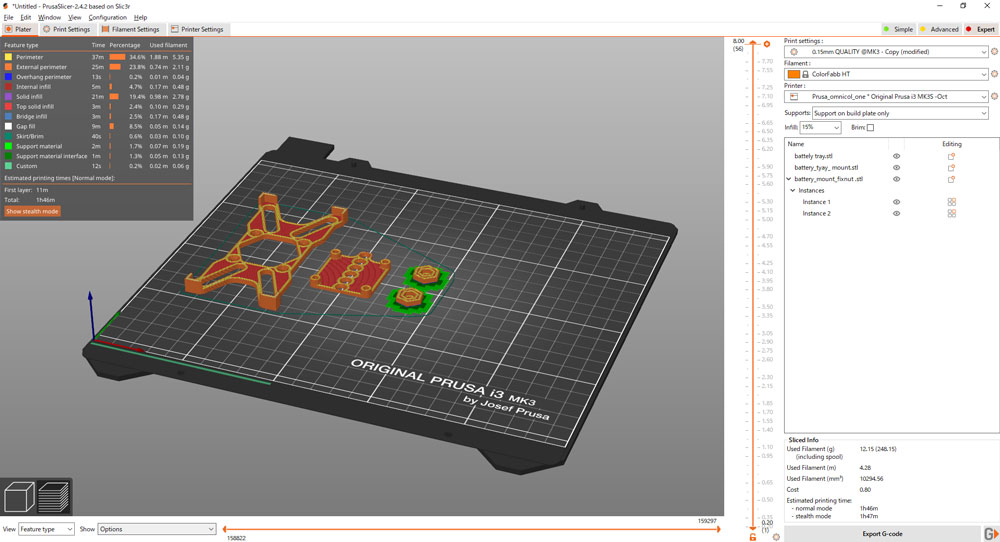
Slice Sample

Disclaimer
Do not use this file for commercial purposes without any permission.
This model is designed to make FDM 3Dprinter, the parts have some additive markings, however, no problem with those parts function.
PDF file
datadownload
https://cults3d.com/en/3d-model/various/n-kay-crafthubio