
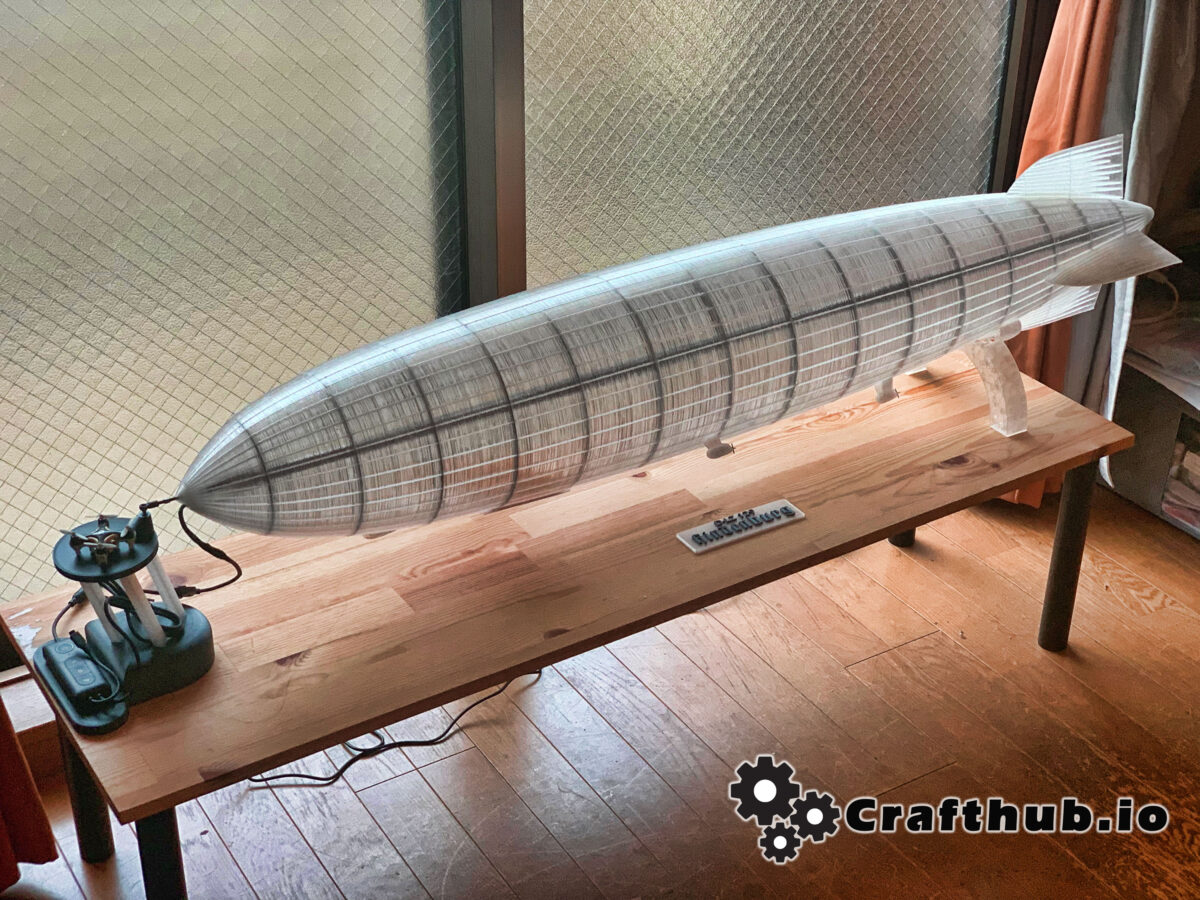
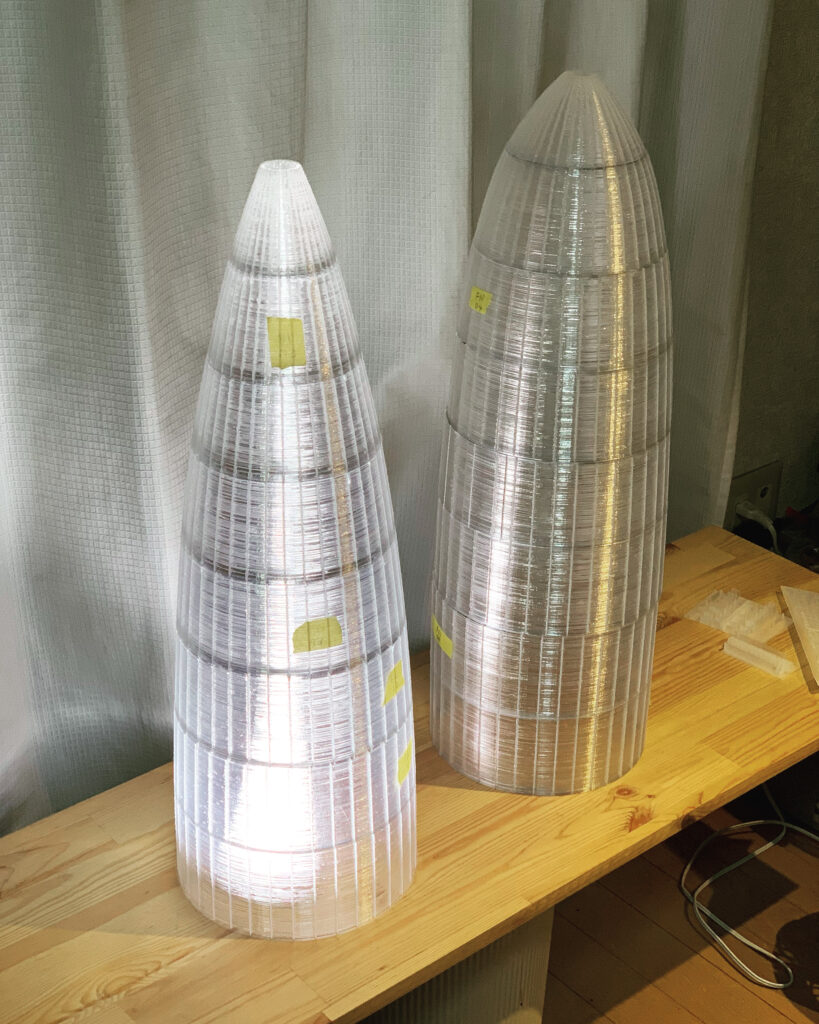
This is a scale model of 1/200 Hindenburg airship. The unique stringer rib construction reproduces the realistic skeleton of the Hindenburg, as well as the passenger cabin and gondola, and engine car are also incorporated.
It can also be used as a beautiful interior light by incorporating LED tape lights.
Note
Please scale the data according to the size of the build plate of your 3D printer.
Example
prusaMk3s 98%. Length 1200 mm
List of items in this kit
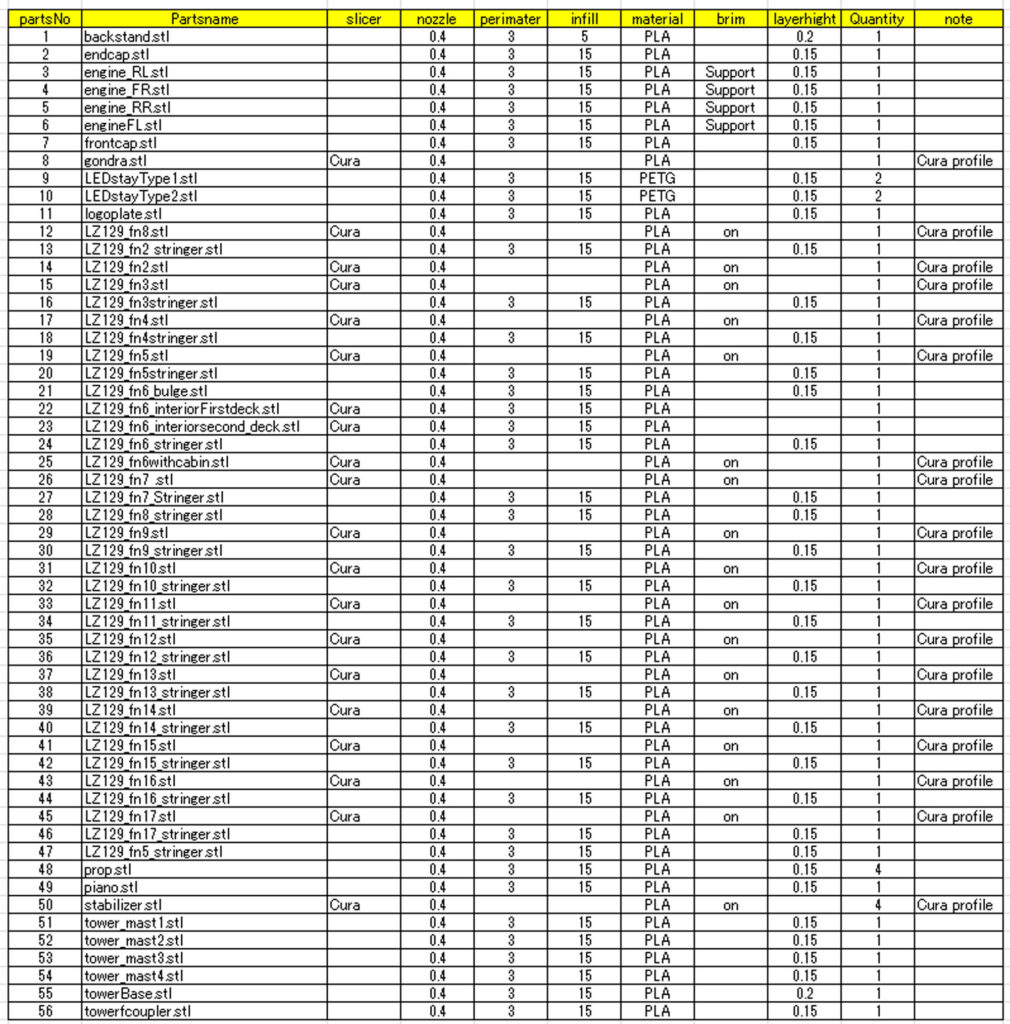
Active link list on google drive
What you need besides the kit
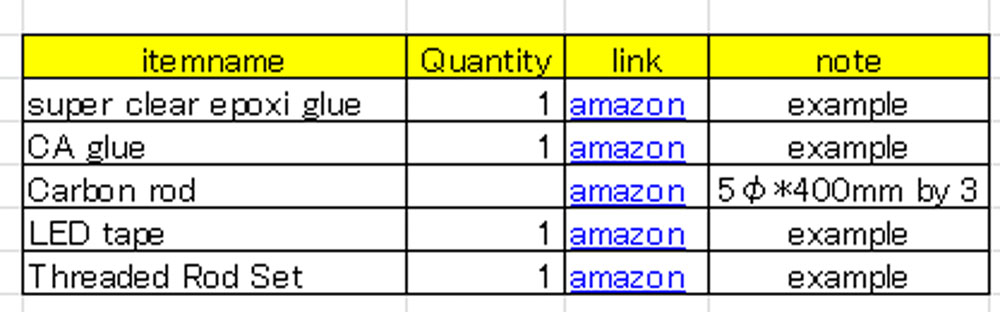
Active link list on google drive.
How to slice the STL data.
The STL data in this kit must be uniquely sliced. For this reason, we have included data that has already been Gcode-ized.
To slice STL data properly, CURA is required, so please download CURA if necessary. Detailed configuration profiles for Cura’s PLA filaments are also included in this kit.
Slice1
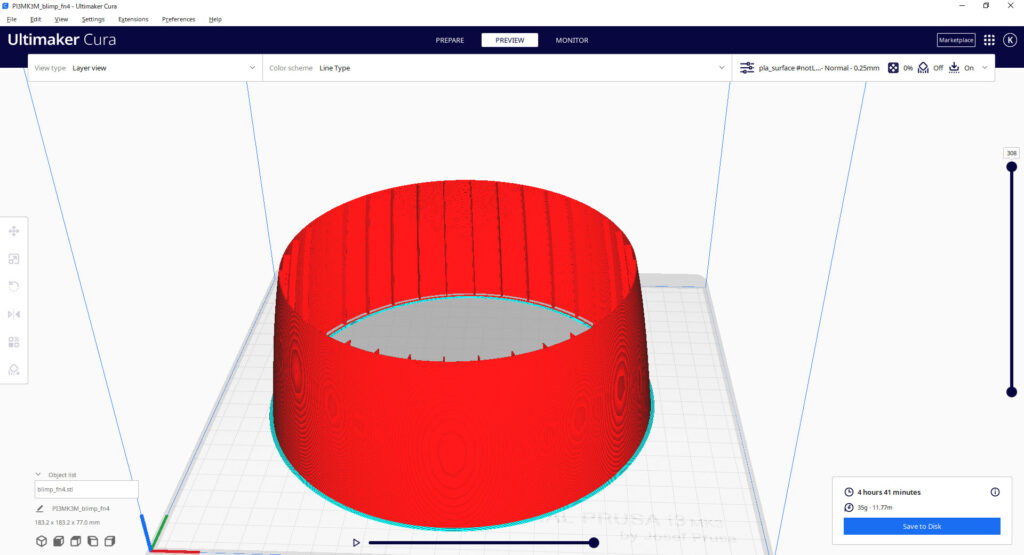
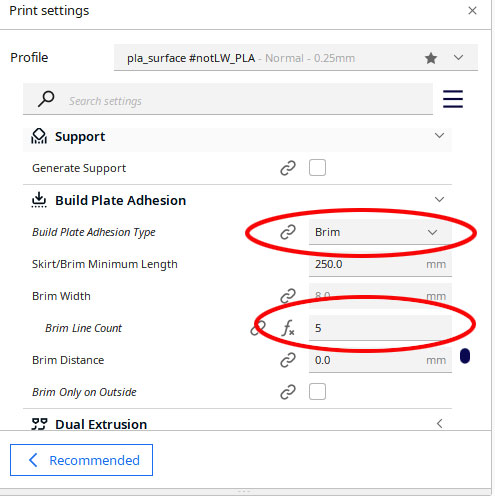
When slicing with Cura, please use the profile data included in the kit.
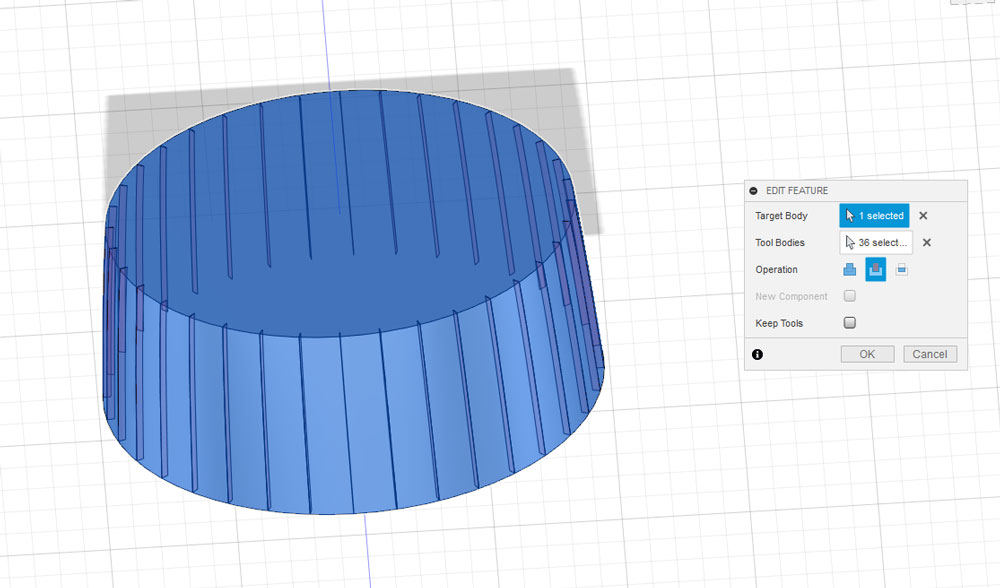
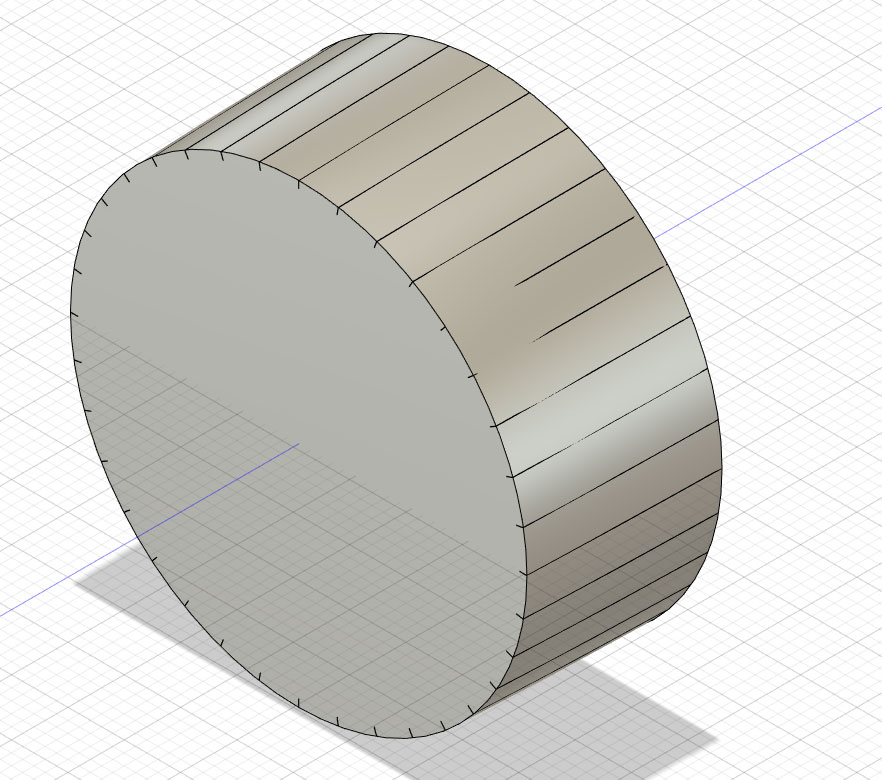
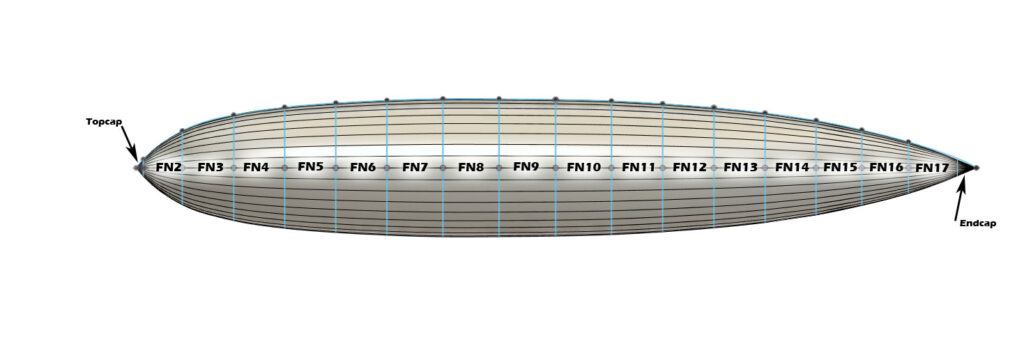
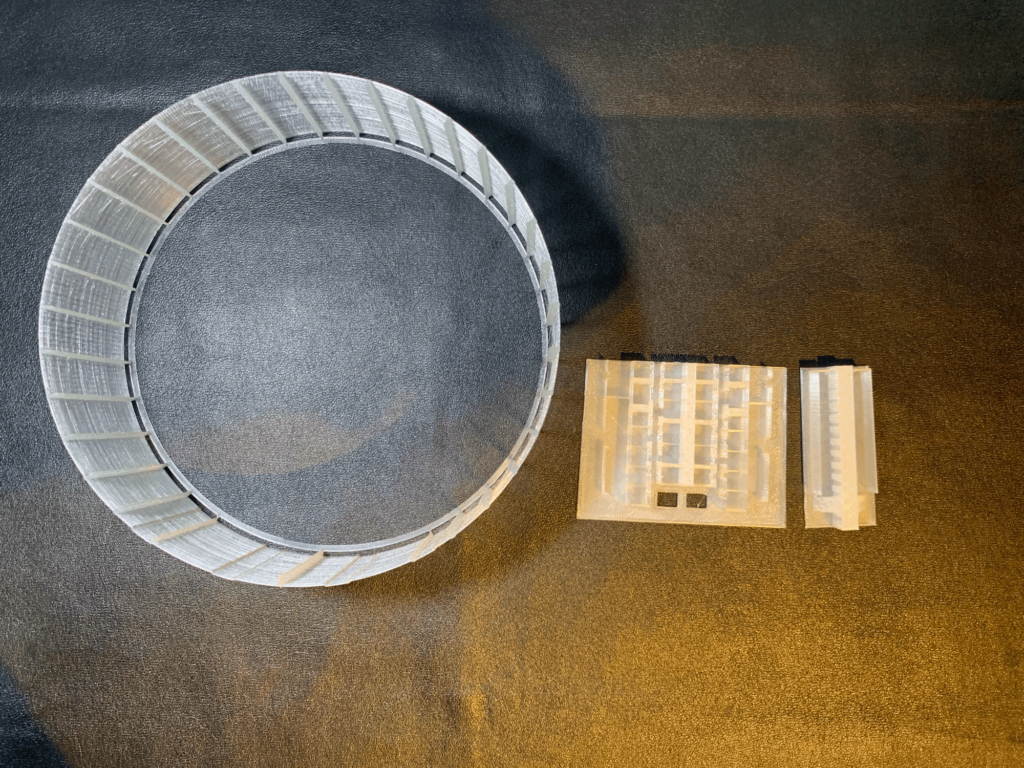
The airship is divided into 17 frames, each of which is pre-built with ribs every 10 degrees. By slicing this data in spiral vase mode, a stringer rib structure is formed.

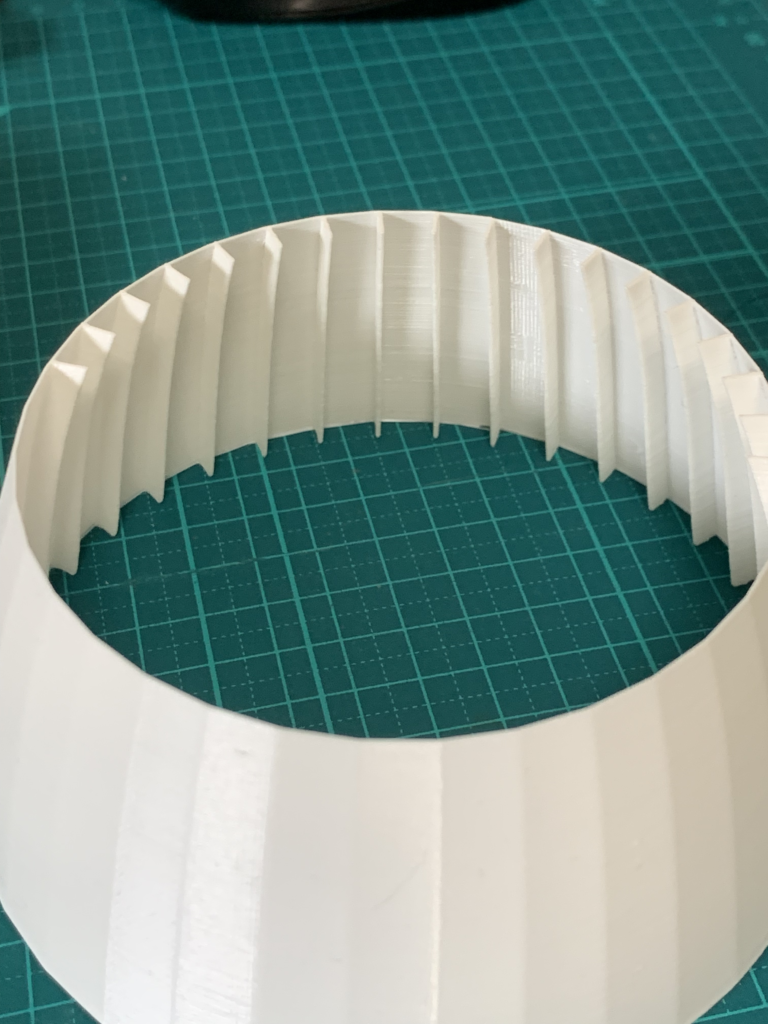
Brim
Because of the small footprint of the build plate, the adhesion of the first layer is very important. Both the inside and outside brim should be set.
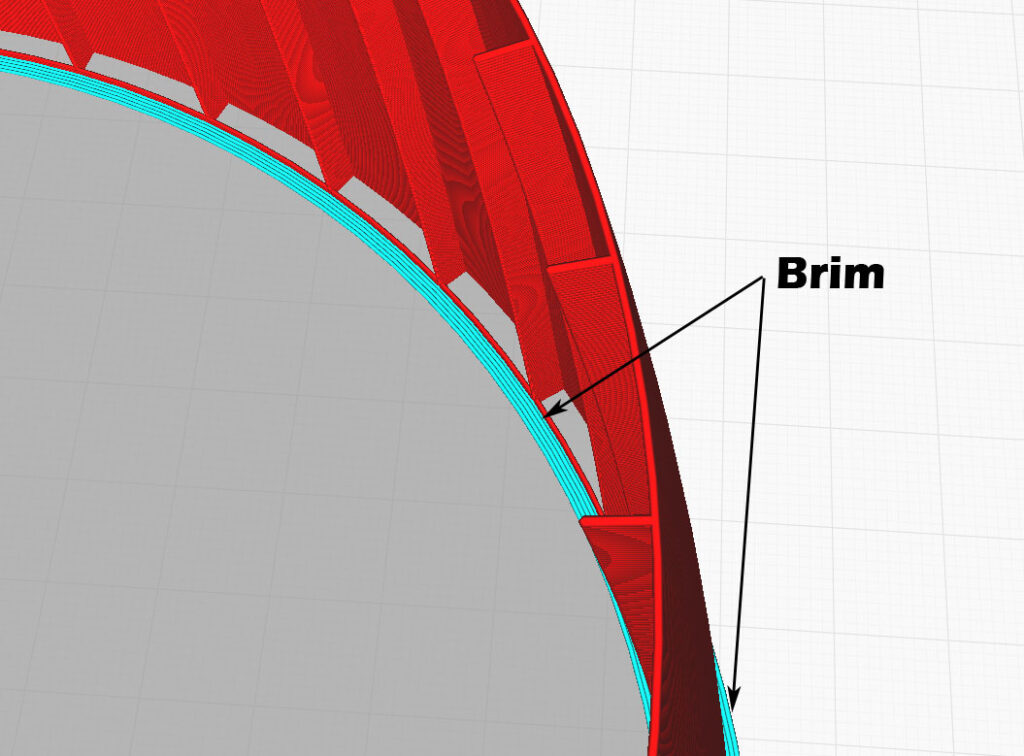
After molding, the outer brim is removed cleanly with a design knife or similar tool. The inner brim is used to join the other frames, so it should be left in place.
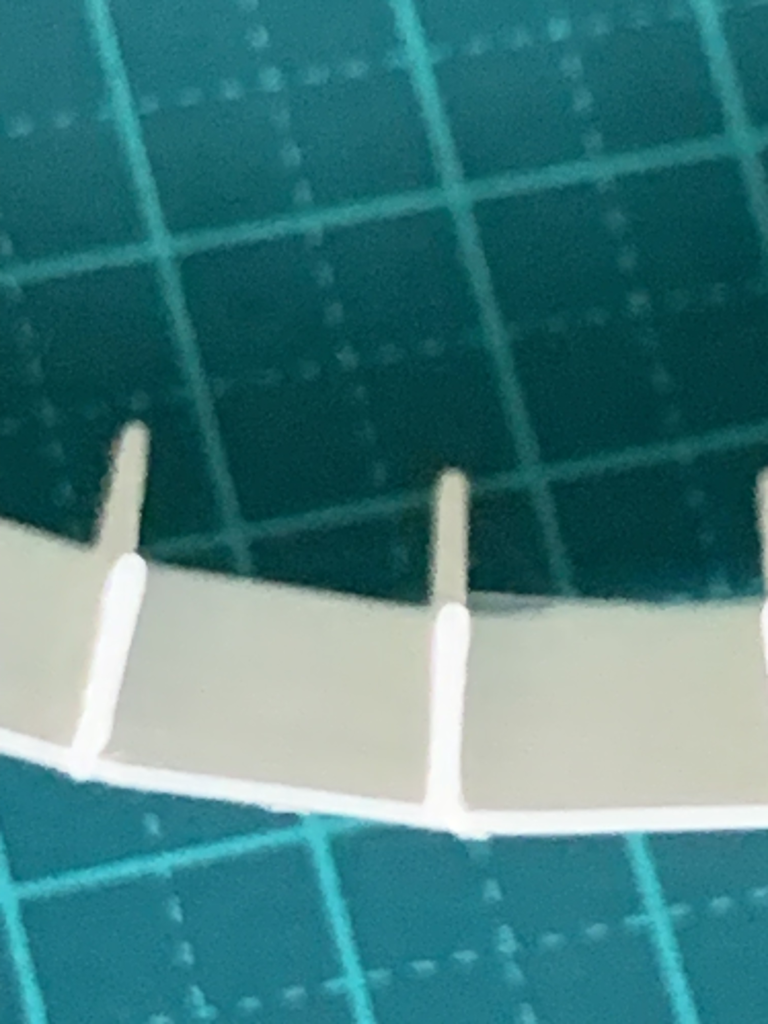
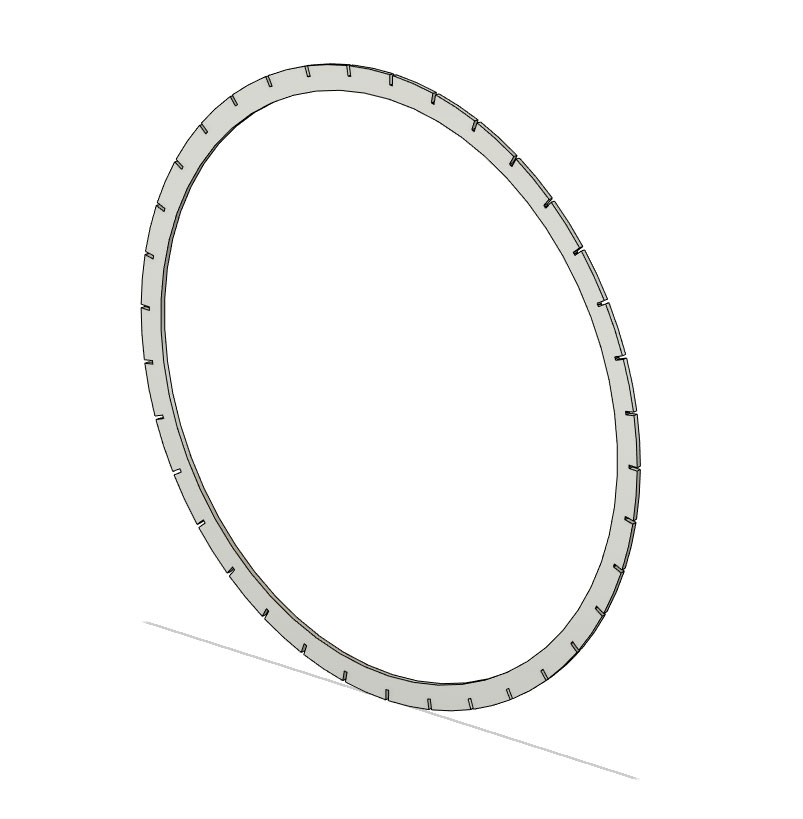
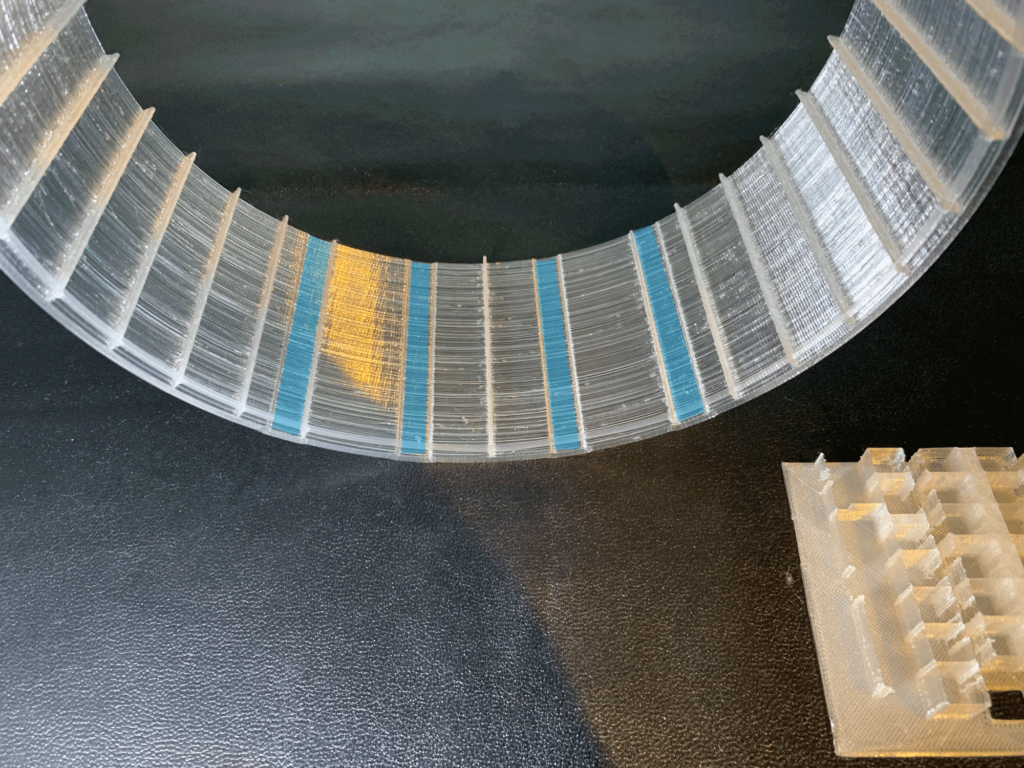
Frame and Stringer assembling
This section describes the process of attaching the Stringer to the FN4. Slide the Stringer from the bottom of the frame to the top, making sure it is flat at the very top, and secure the Stringer with CAglue. Use the minimum amount of CAglue necessary to avoid discoloration to white.
Tips
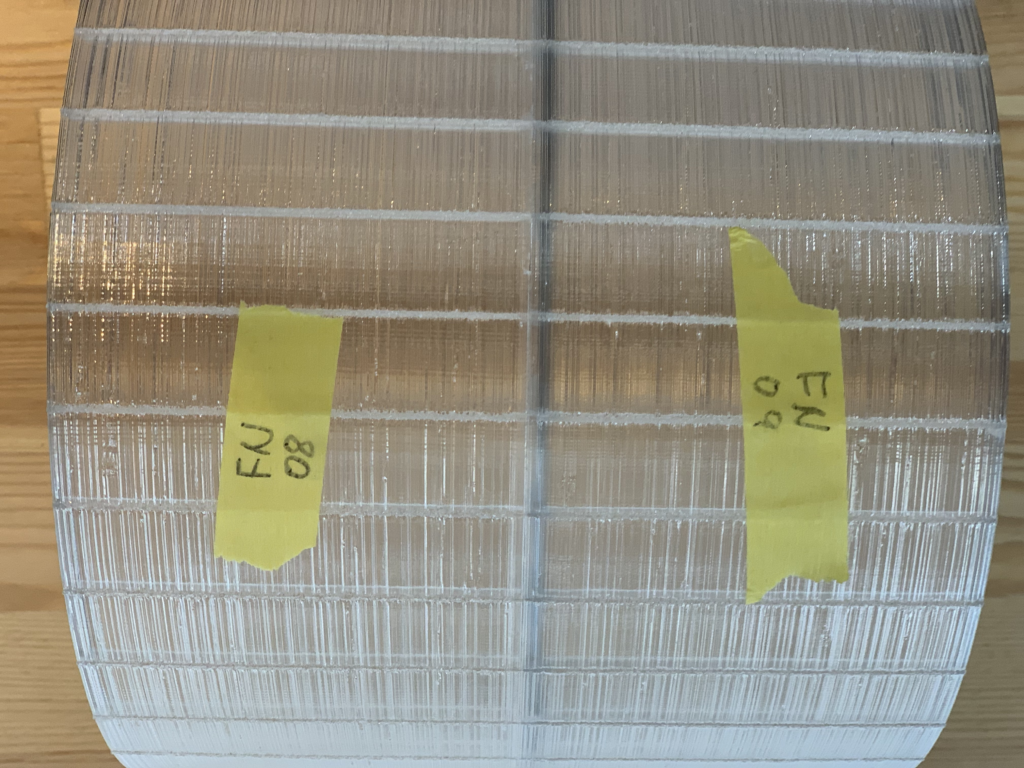
Install the STRINGER on all 17 frames in the same manner. The correspondence between frames and stringers is as follows.
FN3>Stringer2
FN4>Stringer3
FN4>Stringer4
FN5>Stringer5
FN6>Stringer5
FN7>Stringer6
FN8>Stringer7
Caution
FN9> bottomside>Stringer8
FN9> upside> Stringer10
FN10>Stringer11
FN11>Stringer12
FN12>Stringer13
FN13>Stringer14
FN14>Stringer15
FN15>Stringer16
FN16>Stringer17
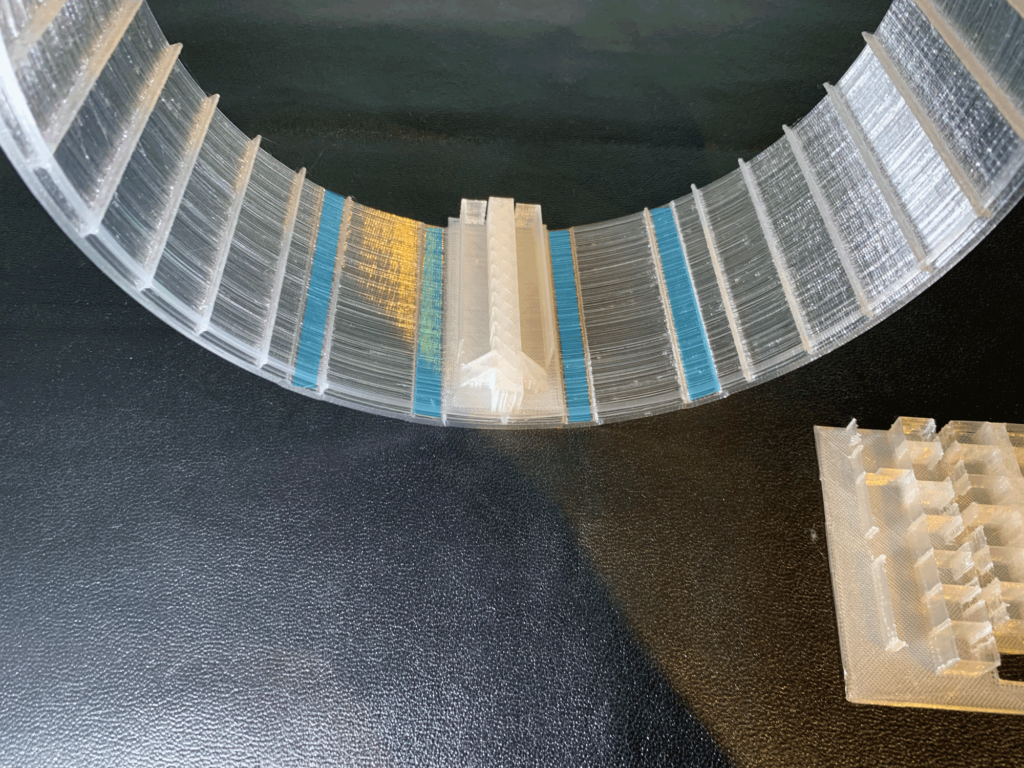
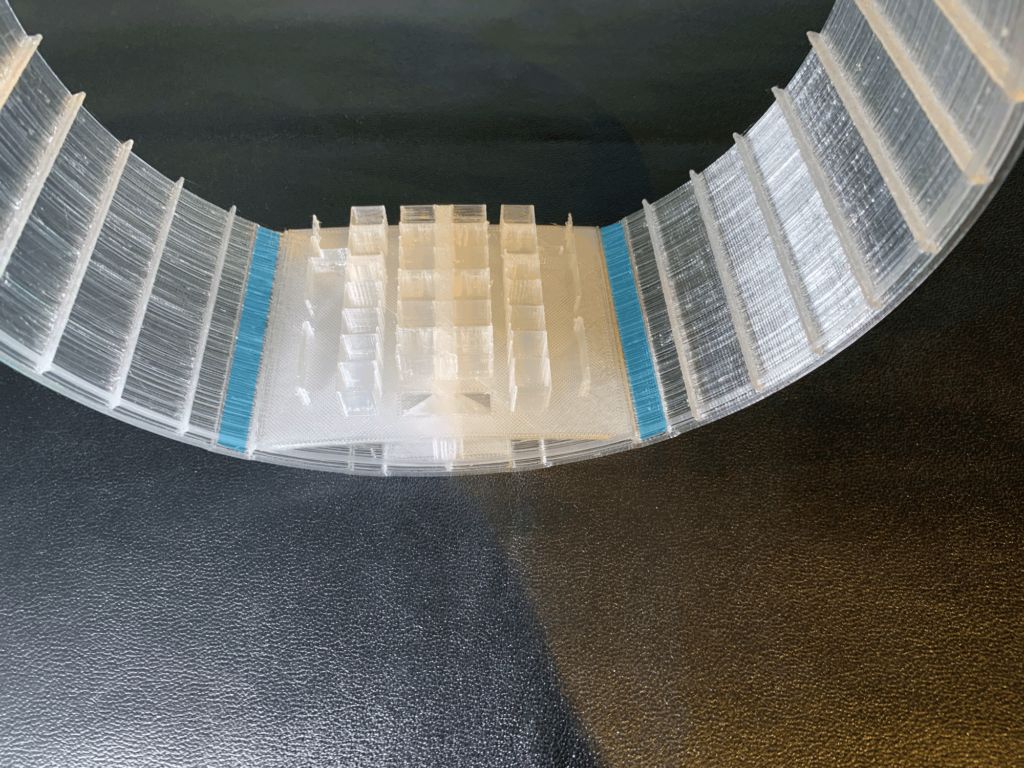
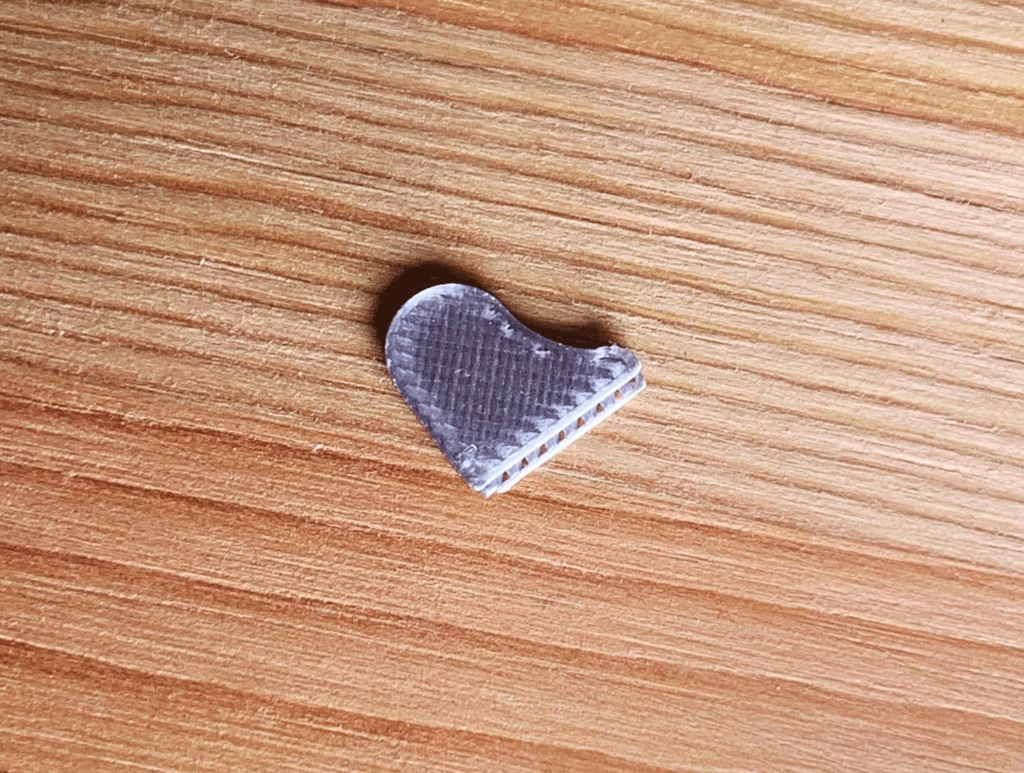
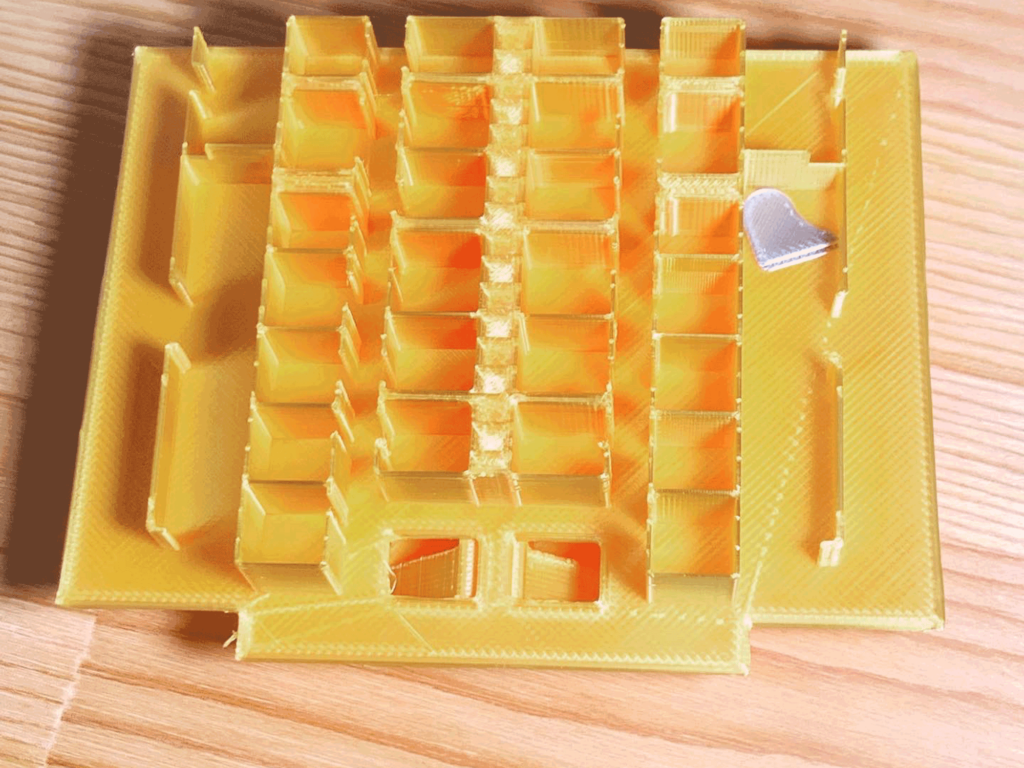
FN6 passenger compartment
The structure of FN6 is slightly different from other frames. Windows that allow you to see the ground from the lounge and the two-story guest room, and an aluminized grand piano placed in the lounge.
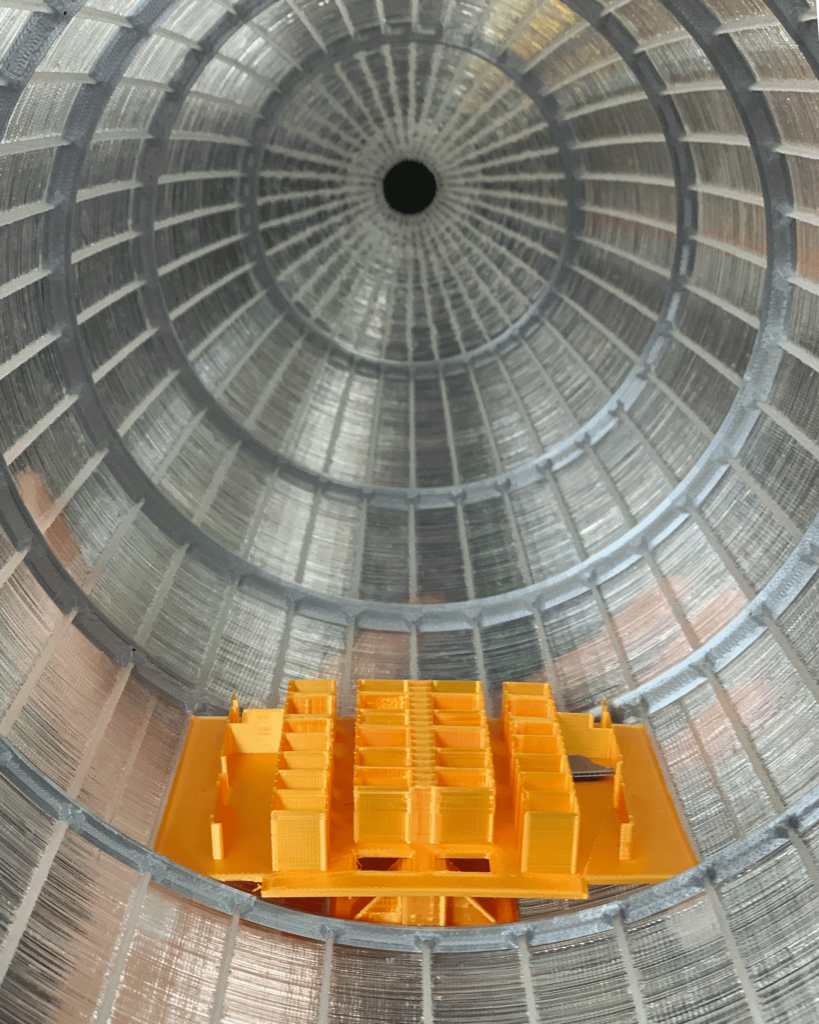
Build up the frame
The front side is assembled from FN2 to FN9, and the rear side from FN10 to FN17.
The assembly of the frame will be stopped here in order to install the LED lights in the airship.